Attract customers with these 24 lead magnets

What is a lead magnet?
A lead magnet is a freebie that you offer to your website visitors in exchange for their email address. It usually takes the form of some type of downloadable content that visitors will find useful and relevant to their needs.
The creation and proper placement of such content is one of the most effective ways to assemble a high-quality database of addresses.
There are hundreds of lead magnet options: guides, checklists, cheat sheets, infographics, reports, video instructions, PowerPoint templates and more.
The lead magnet serves to:
- Qualify potential customers (finding whether they’re a good fit)
- Collect their email address
- Impress them with your expertise and helpfulness
A sales funnel typically begins with a lead magnet. But you can have multiple types of lead magnets placed at different stages of your funnel.
So if you use a sales funnel, you’re going to need a lead magnet (possibly more than one).
Lead Magnet Tasks
The primary task of the lead magnet is to attract leads. Not just any leads, but qualified leads i.e. the kind of leads that are a good fit for your business.
- The lead magnet doesn’t just collect email addresses. It helps introduce potential clients to your company/product.
- If customers find your lead magnet valuable and interesting, you will have a competitive advantage over your competitors.
- Besides email addresses, you will also be getting the opportunity to earn your market’s trust and indirectly, to increase sales.
What makes a great lead magnet?
What makes a lead magnet irresistible?
- It solves a real problem that is afflicting your target audience. Alternatively, it can fulfill their desires and ambitions.
- It has a simple title that makes it immediately clear what it is and how it can be used. It should be obvious that you are offering a very good deal.
- It is specific. Don’t try to create a lead magnet “does everything.” Make it about something that you are really good at. The more specific the topic, the higher the conversion.
- It is unique. Try to avoid creating something that has been offered elsewhere.
- It is simple to grasp. PDF checklists usually give a good conversion, because they are simple and easy to view and understand. An ebook or voluminous report may be less effective (at least at the beginning of the funnel).
- It has a high perceived value. The value to the customer should be obvious. Avoid giving out something that is already in the public domain.
- It offers instant gratification. Your lead magnet will work well if your customers can get it right away, without delay. People love instant benefits.
- It demonstrates your expertise or unique value proposition. This will help you turn leads into customers in the future.
Thanks! The guide is already in your inbox
Lead nurture sequence
What makes your lead magnet work for you even greater is a lead nurturing sequence. The impact from just collecting leads is much less than from the combination of lead magnet + lead nurture campaign.
What is a nurture sequence? This is a series of messages that you send to the lead you’ve recently acquired in order to engage and hold them in your email base. The final goal of this campaign is to close deals with these leads.
In what cases lead nurturing will be useful:
- you need to increase your sales without investing in the traffic. Lead nurturing will help you to deliver the value of your product to your current audience;
- you need to increase the conversion rate at the particular stages of user interactions with the product;
- you need to control the customer journey and guide your users to perform the key actions.
This is one of the simplest examples of how the sequence may look like:
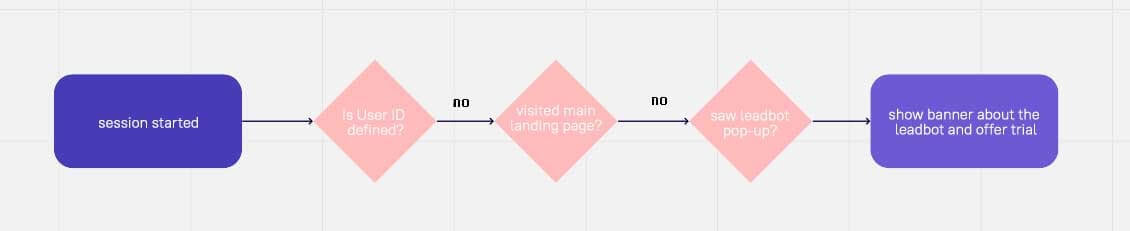
Above is the example of the lead nurturing sequence without segmentation. In some cases there is no need to segment users — the lead magnet that they download may be the segmentation criteria by itself. For example, when you offer the lead magnet for people with particular roles in a company.
But often nurturing sequences should be much more complicated and be different for different lead magnets. For example, if you download the lead magnet for customer support team lead, you’ll receive a nurturing campaign with support guides. But if you choose a lead magnet for marketers, the system will send you materials about JTBD, buyer personas, and so on.
NB: Don’t forget about the segmentation. To make a great lead nurturing campaign and get valuable results, you need to segment your users and send them messages that are relevant to their problems. Otherwise, the result would be as if you didn’t do any segmentation at all.
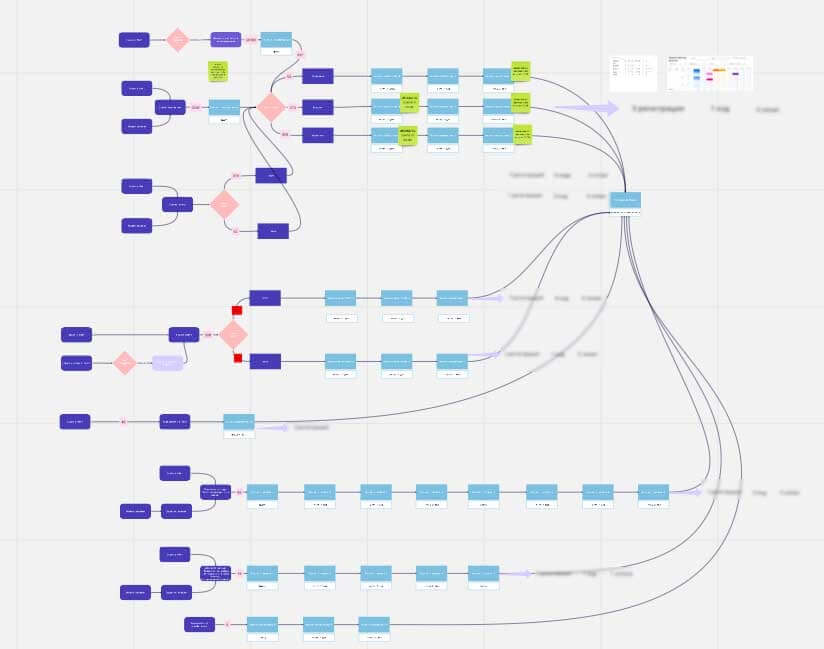
Segmented nurture sequence may look like this:
Lead nurturing should consider and work on bottlenecks — stages of Customer Journey Map where many leads churn. Therefore, this will increase the overall conversion rate of your customer journey map.
NB: to make a good lead nurturing campaign, you need to rely on the CJM of your product. This will help you to understand the patterns of your users’ interaction and the bottlenecks of the product. This way you’ll understand what to improve. Maybe, there are some stages where you need to guide users a little more to make them buy.
Usually, the nurture sequence consists of these elements:
- Lead magnet delivery — send the lead magnet that the user left their contact for;
- Some useful materials that you’ve recently published;
- Case studies;
- Help offering — in case some of these people tried your product but faced some obstacles, you will offer proactive support;
- Call to action — for example, you may suggest an x% discount for buying your product right now.
What’s great about nurture sequences is that it makes users interact c with you and your convent several times. Therefore, this will build trust to you and increase loyalty and the probability of making a purchase.
Dashly case study: we have an email sequence that triggers when a user leaves their email. This consists of several messages: case studies, best articles, and Dashly tools that can be handy for some user tasks. After this, we send regular newsletters with our recent articles. This helps us to hold leads that we’ve caught and turn them into buyers.
Types and examples of lead magnets
There are 4 types of lead magnets:
- useful lead magnets;
- educational lead magnets;
- entertaining lead magnets;
- lead magnets at the bottom of the sales funnel.
Useful lead magnets
Useful lead magnets are simple and useful tools, or conveniently-packaged knowledge that you can share in exchange for an email.
NB: Make sure your promises on landings correspond with what you actually give to users. Overpromising may harm your relationships with customers as well as under-delivering. In other words, if you promise to send a book, but instead users will find a short guide in their inbox, they will probably never buy from you.
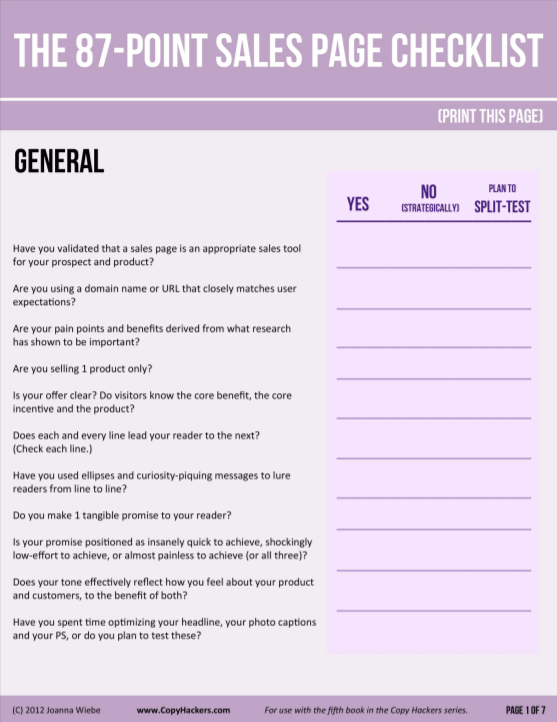
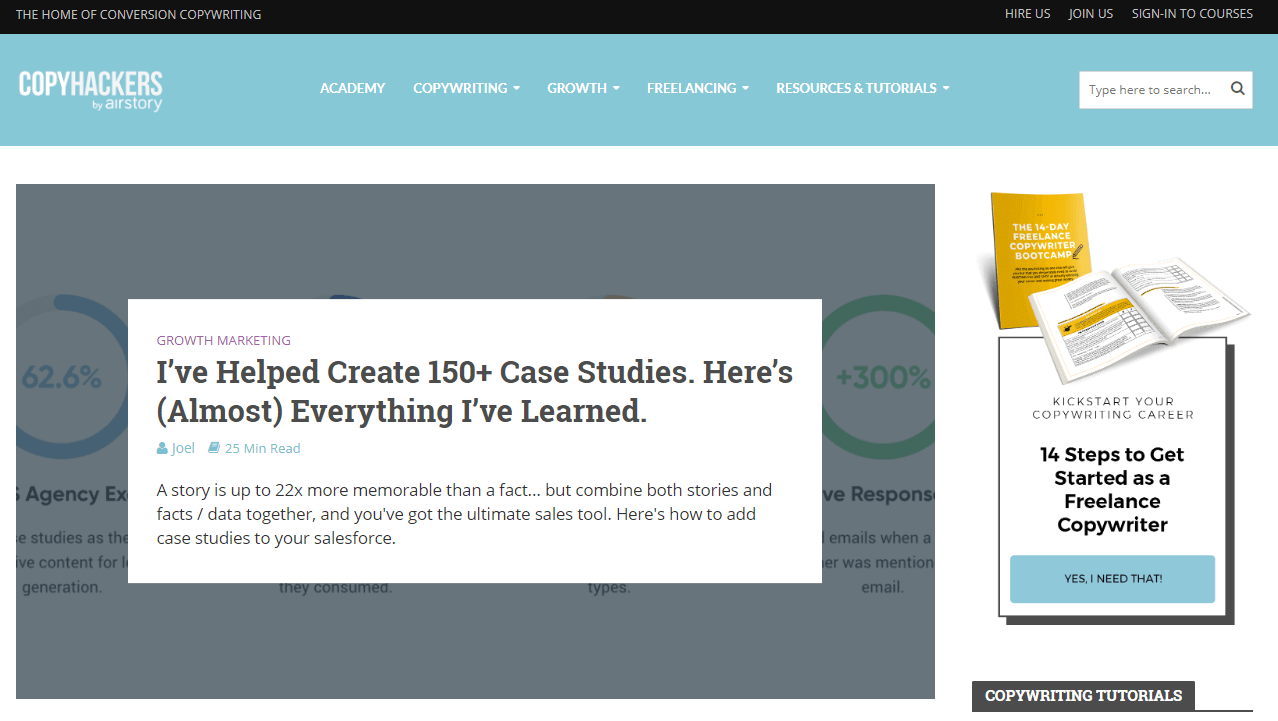
1) Checklist
Copyhackers.com offers a seven-page free checklist for copywriters:
It’s simple — checklists save people a lot of time, and who doesn’t love that?
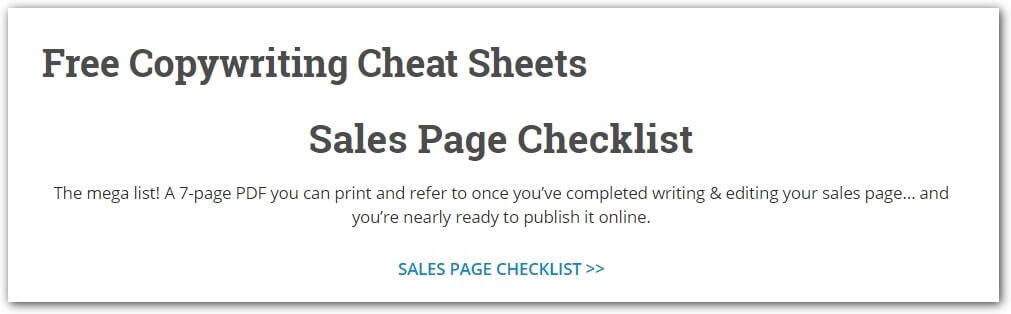
The checklist itself is in PDF format. This is the first page:
2) Cheat Sheet
The advantages are obvious: a large quantity of information, packaged in a way that can be consumed quickly and easily. And, more importantly, you can consult the cheat sheet anytime you need.
Copyhackers.com also has a cheat sheet for writing headlines:
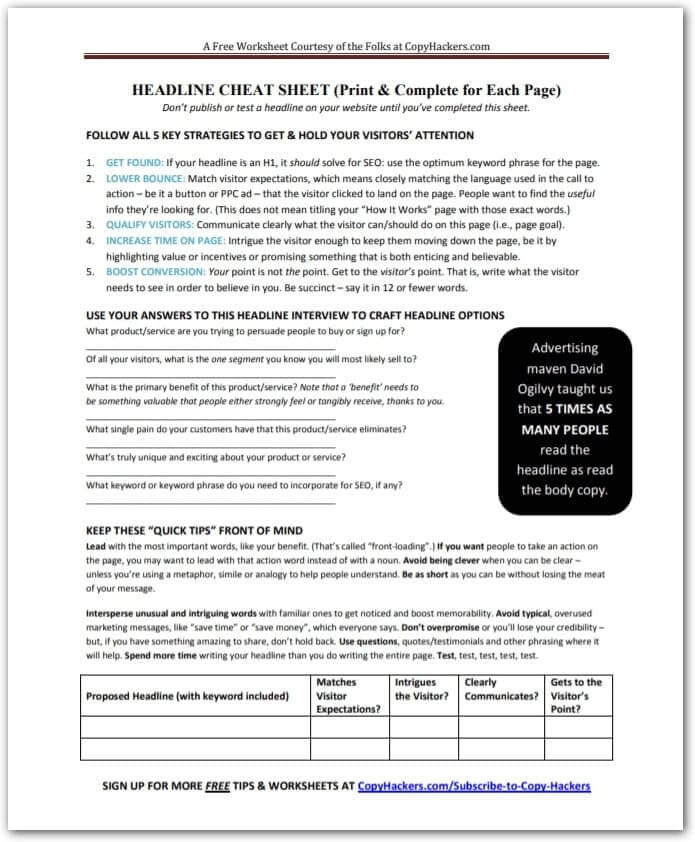
It is single-page, it can be printed, and the link to the subscription is embedded directly into it. This is great for when people share your content to other people, so that they have a way to subscribe to your newsletter too.
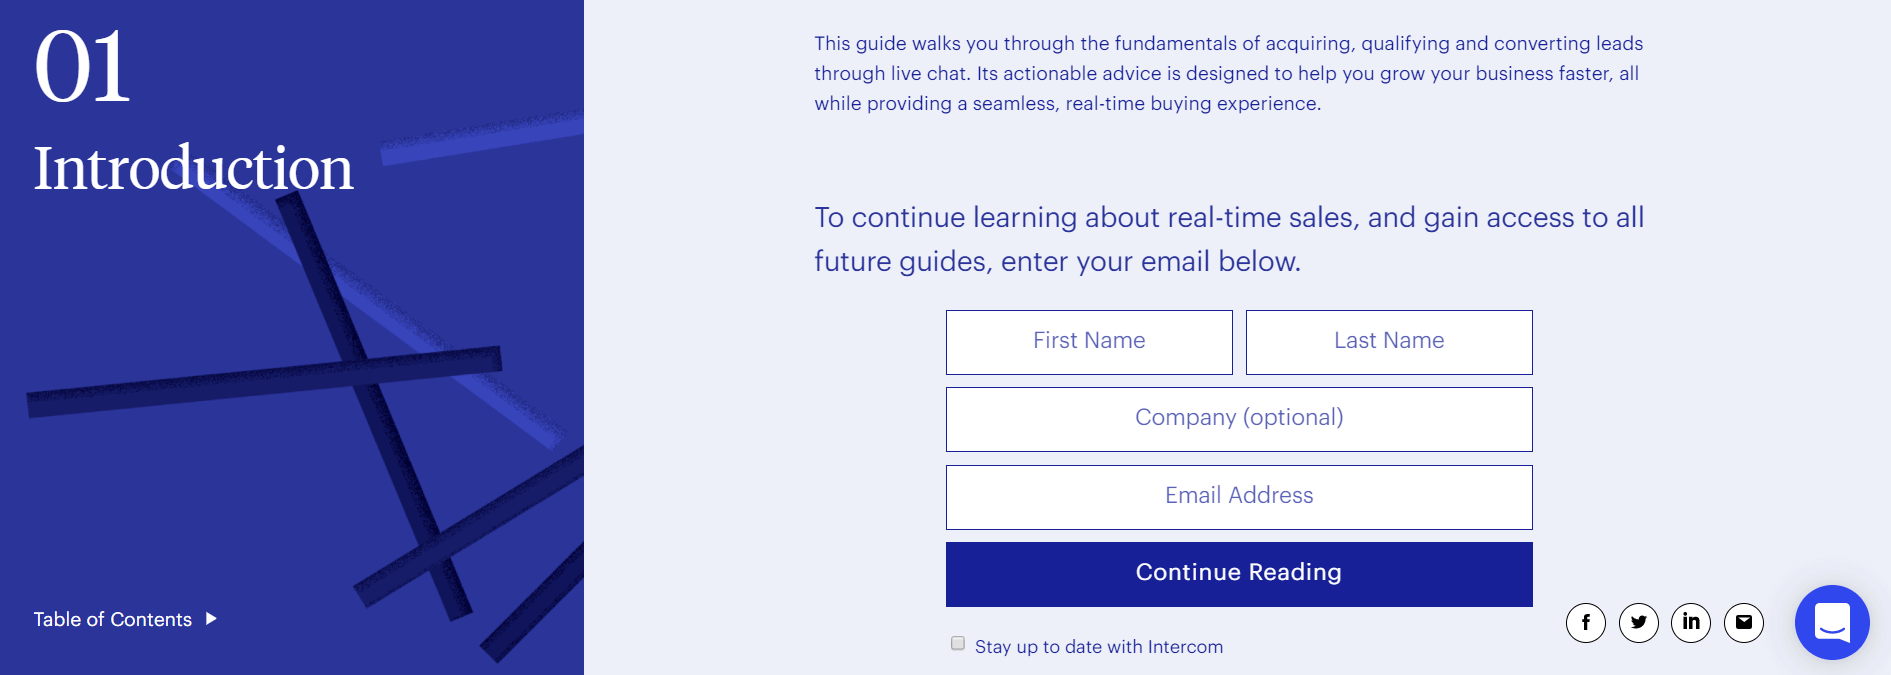
3) Guide
Guide formats may vary. Here are some examples: “5 simple steps to …”, the so-called “road map”, a comprehensive guide, and so on.
Intercom offer this guide on their homepage:

To get access you need to go through a short registration:
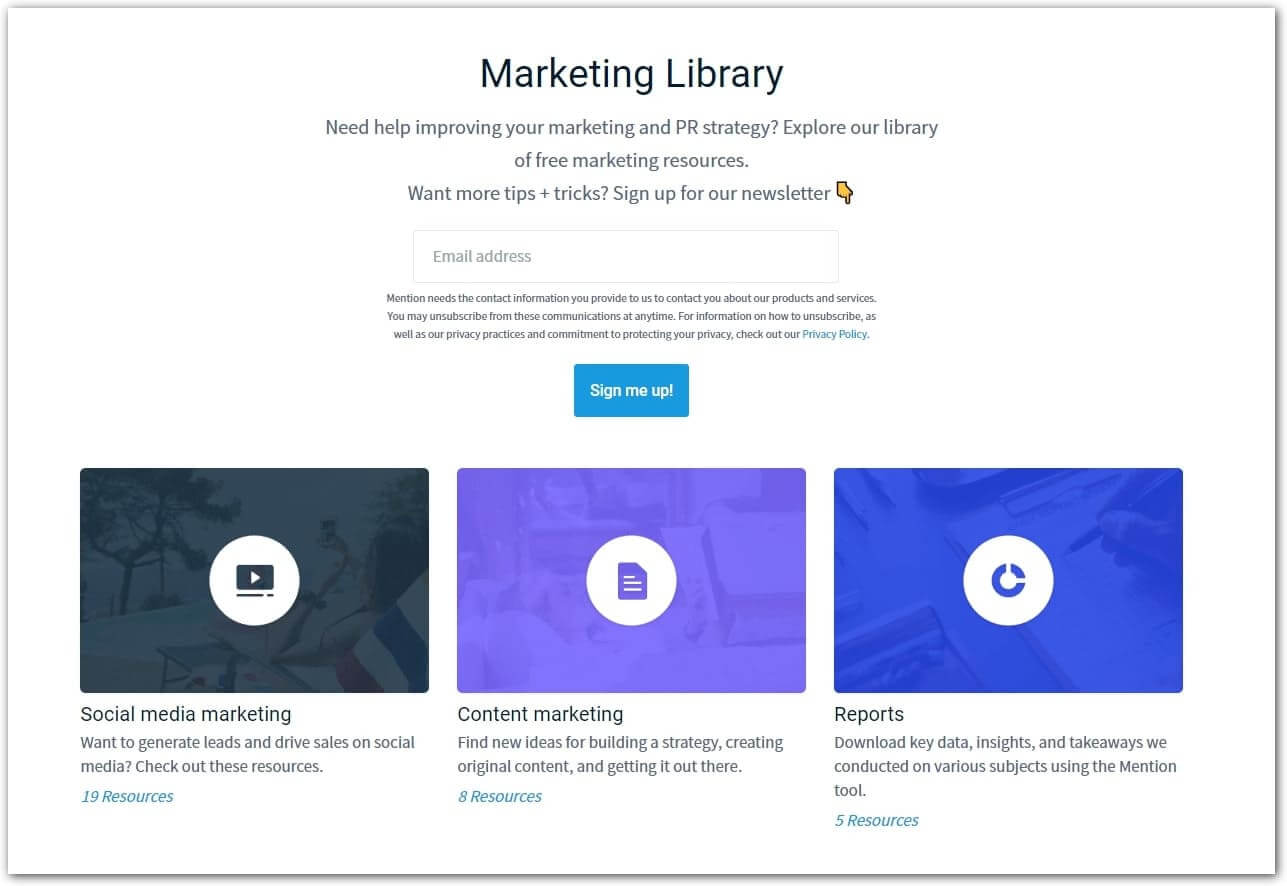
4) Toolbox / list of services
It may be straightforward, or highly detailed and elaborate, like the Mention marketing library:
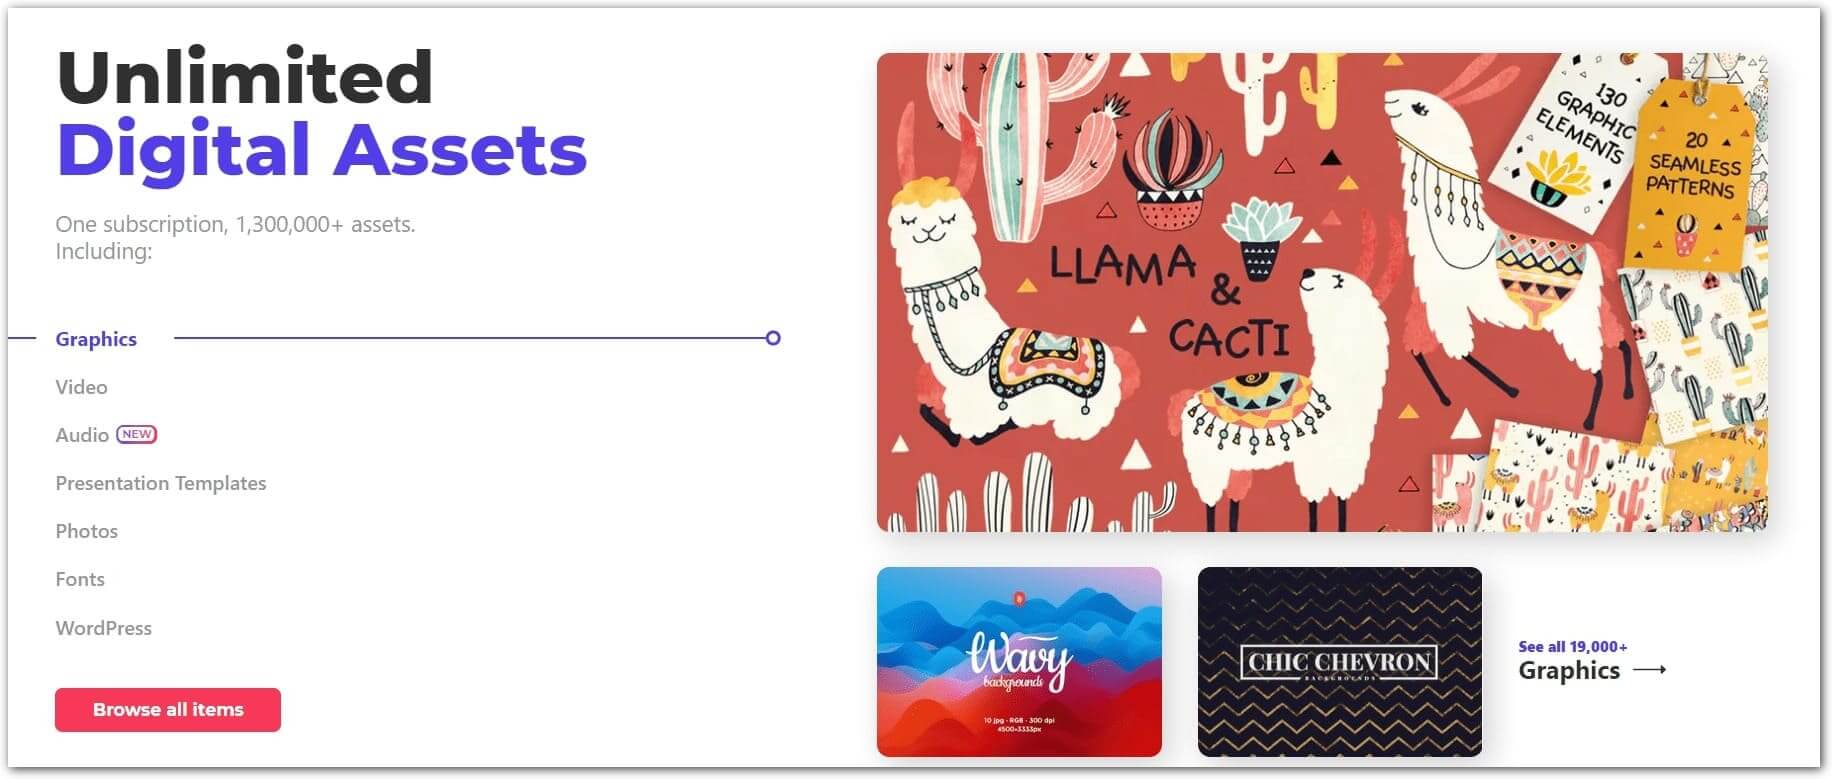
5) A set of templates / bundles:
When you subscribe to Elements.envato.com, you get access to 1.3 million different digital assets, including graphics, video, audio, presentation templates, fonts, etc.
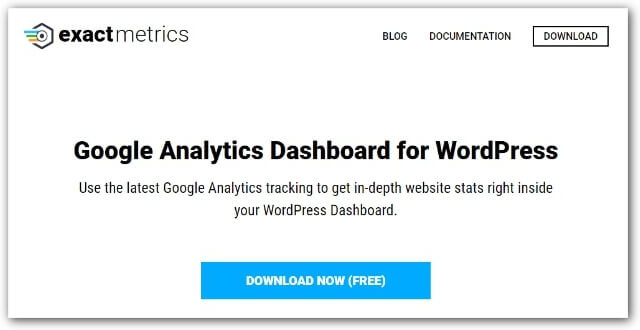
6) Web application / free plugin
An example of such a free plugin is ExactMetrics by OptinMonster:
7) Audio / PDF / infographics
In this section, we’ll talk about how to present the information in your lead magnet.
It’s not just the content that should be relevant to the interests of your target audience. The format should be as convenient as possible.
Let’s say you have a very cool article on your blog, and your website visitor has already read it all, even though it is a really long read. Try turning it into a lead magnet. Make a PDF version that the reader can download, so that they may use it as a reference, just like a cheat sheet.
You may also pack all the information in an infographic. This is practically a win-win scenario. A simple visual interpretation is always easier to consume.
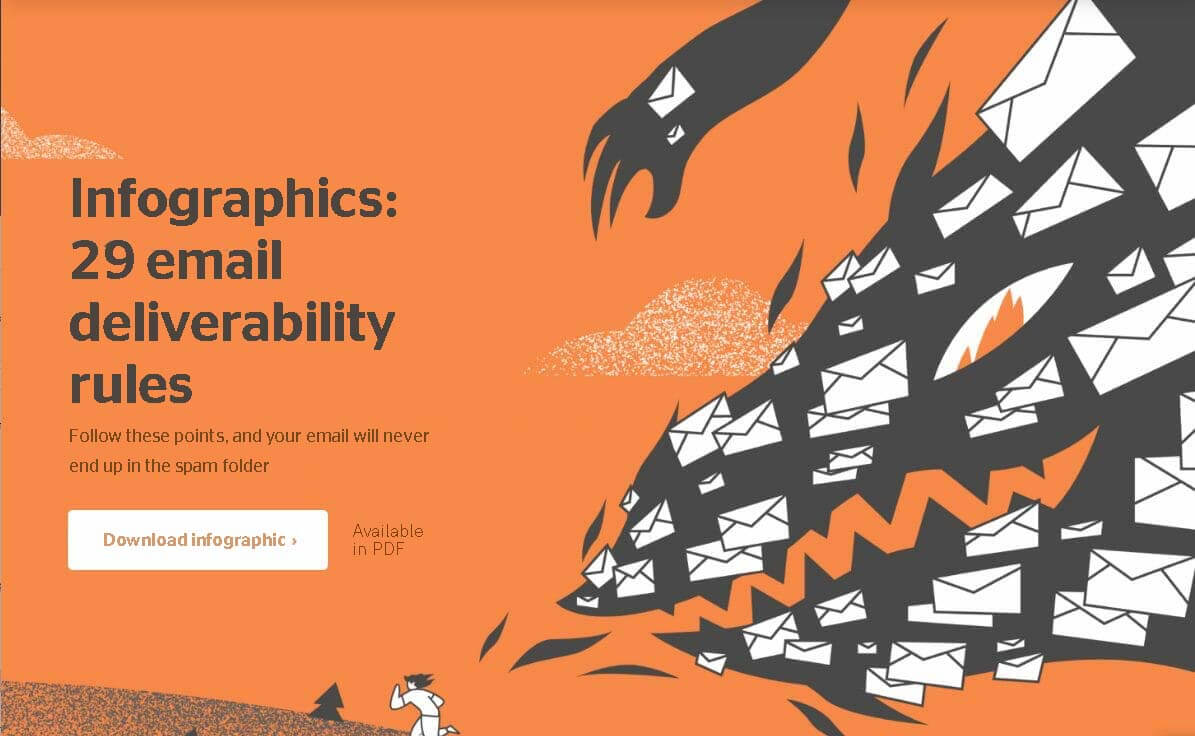
Also, you might want to download our spam infographic to make sure your emails never end up in the spam folder?
Another option is to record an audio version of your content, so that visitors may listen to it while on the go. This is a great option for long commutes, where reading isn’t always convenient.
8) A newsletter can also serve as a lead magnet.
If you are producing a great newsletter, you can use it as a lead magnet. Of course, you need to clearly state the benefits for subscribing. For instance, every week you could review hundreds of pieces of content from your industry and curate the top 5 to send to your readers.
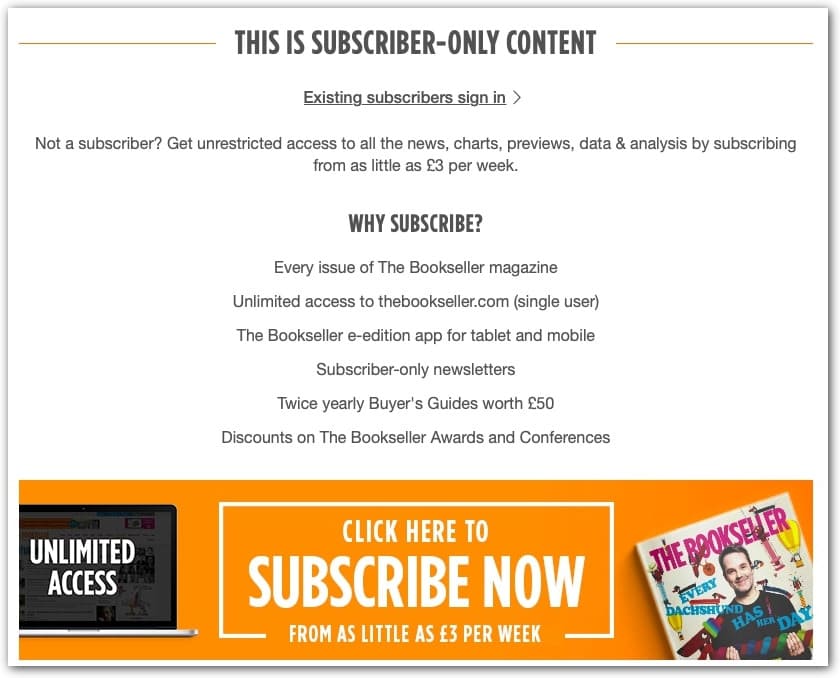
9) Previews or summaries of book chapters
Before you buy a book, you can usually get an idea of the contents by reading a preview of several pages or even the first chapter for free. Here’s an example from The Bookseller:
10) Notification of launches and releases.
This option isn’t just for publishers. Intercom is the perfect example.
Next up, we have some more “expert level” lead magnets. They take a bit more work, but they’re worth the effort.
11) E-book
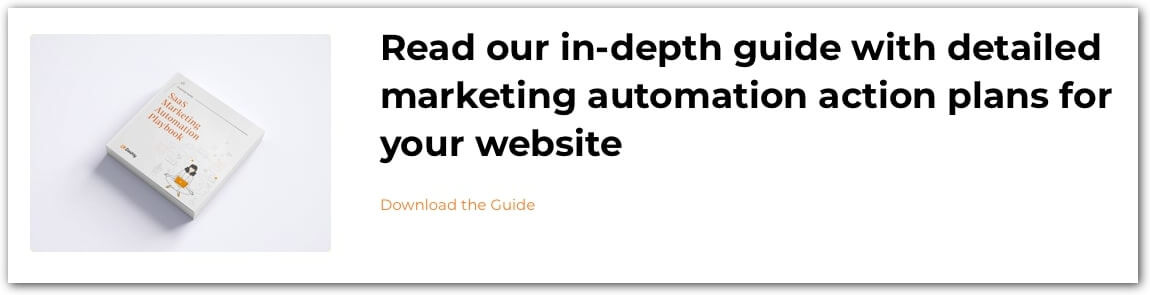
This is great for when you have considerable experience in your field, along with a collection of anecdotes and scenarios from your industry. With a little bit of effort, you could collect all this knowledge into a book.
This is something that has worked very well for us.
We’ve written two books about marketing and communication automation for online stores and for online services. Our readers have found them really useful and have given us amazing feedback. In fact, you might want to download them too.
NB: Let’s be honest, many people just leave their email for the book — and after this the book just lay on the digital shelf. Undoubtedly, eBooks can make a real impact, but to do long-term work, make sure that your content in the book is original and useful. Otherwise, users won’t read this, so that this content and the effort you’ve spent on its production wouldn’t pay off. So many books are available online now — you need to create something extraordinary that can help you to stand out from your competitors.
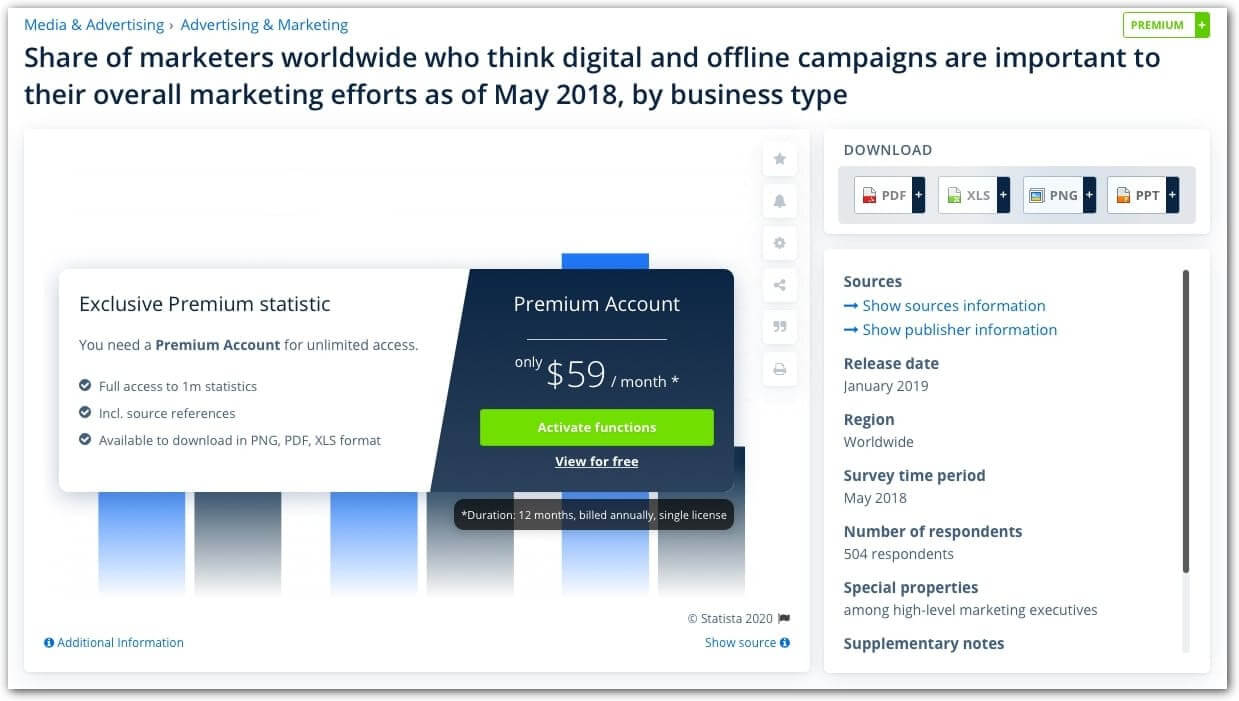
12) Reports / studies / data
This format isn’t usually suitable for the top of the funnel, but it works great in the middle stages. Such content will be especially valuable to those who are interested in your field.
For example, Statista publishes part of its data and research:
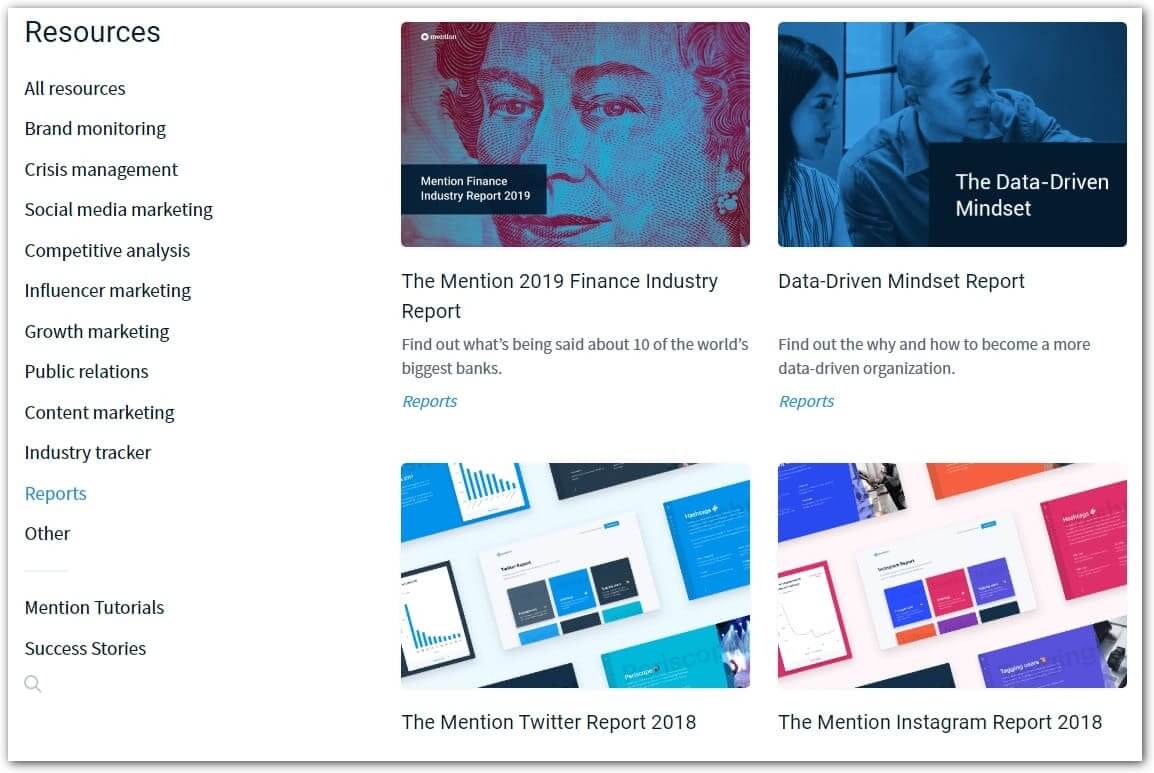
Mention can safely brag of reports, in their library of 5 actual and detailed reports:
13) Invitation to a closed professional group on Slack or Facebook
This is a special kind of lead magnet. Your role here is to be the expert that brings people together into a community. Giving them access to a professional community and the possibility to exchange opinions and consult with others within their industry is absolutely invaluable. And the best thing about it is that you don’t need to produce content, because the community produces it by itself.
The course is in your inbox, it’s time to learn!

Educational lead magnets
14) Short video course
Here’s a great example of this — a future-oriented crash course from Hubspot:
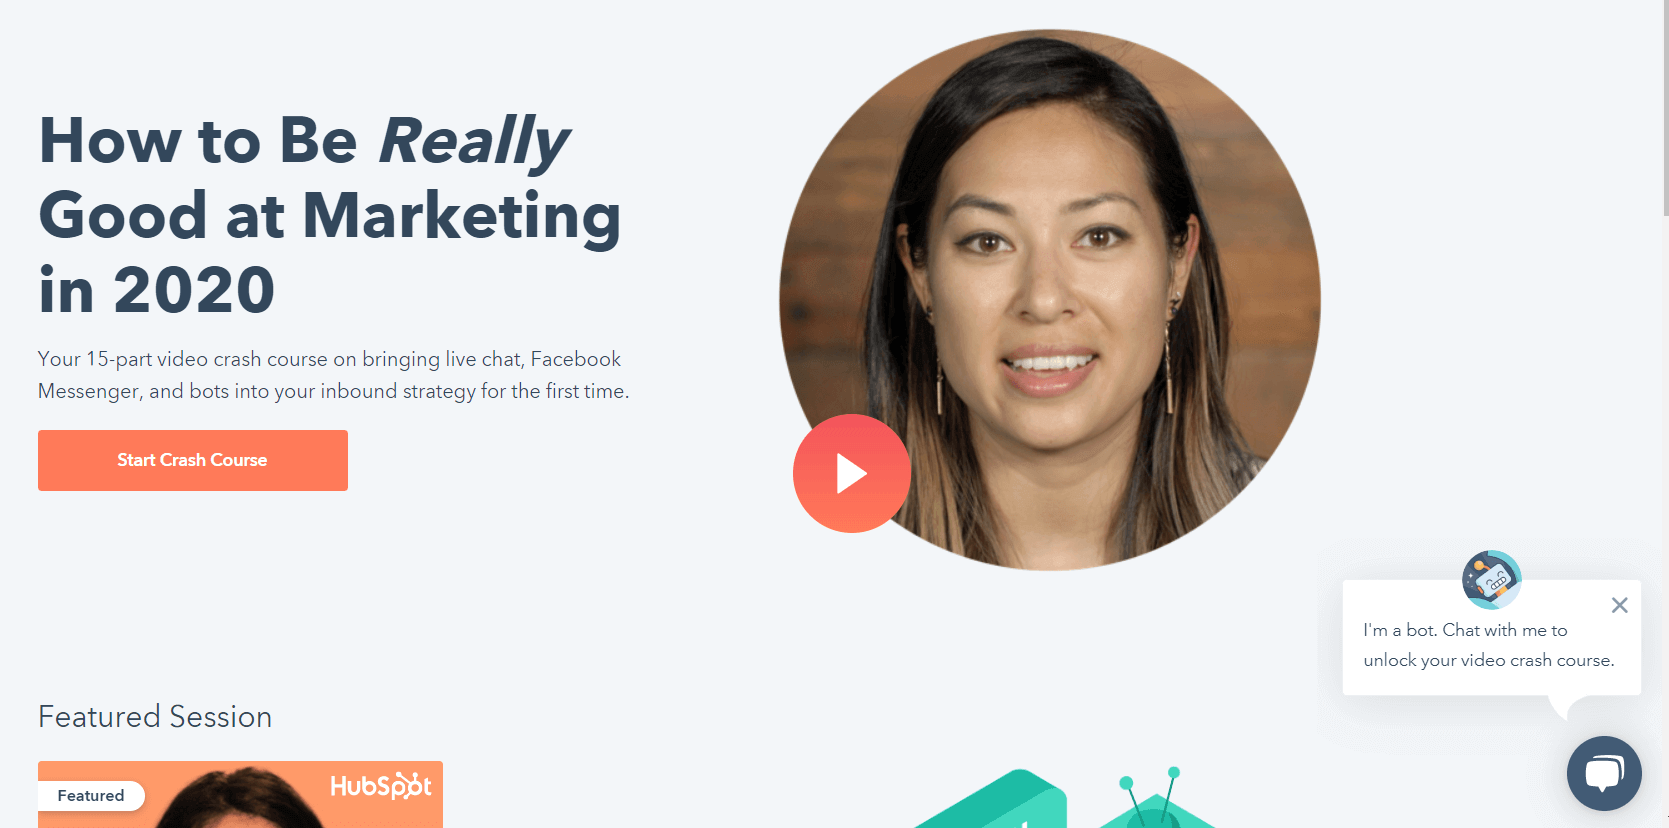
Note that there is no lead-collection form. The chatbot collects all of the data. In order to access the video lessons, you need to chat with it.
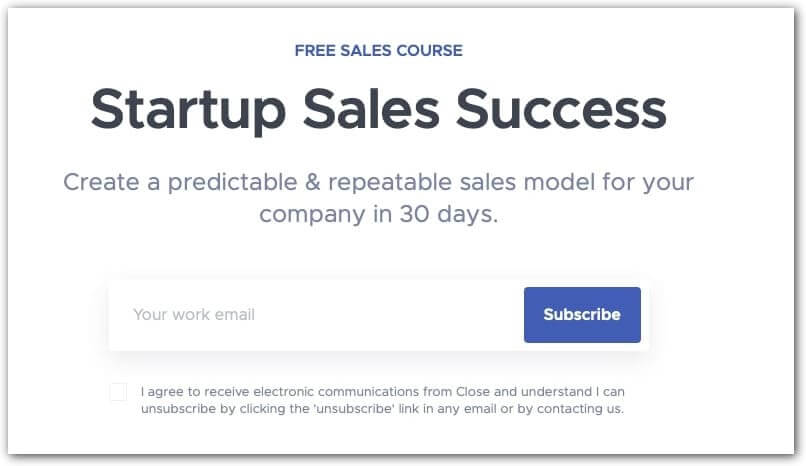
15) Email Course
Close.com is a great example of this. Over the period of a month, you receive free basic course materials.
Once they have established authority and proven the value of their content, you will need to pay to continue accessing further materials. But by that time, you will want to do that.
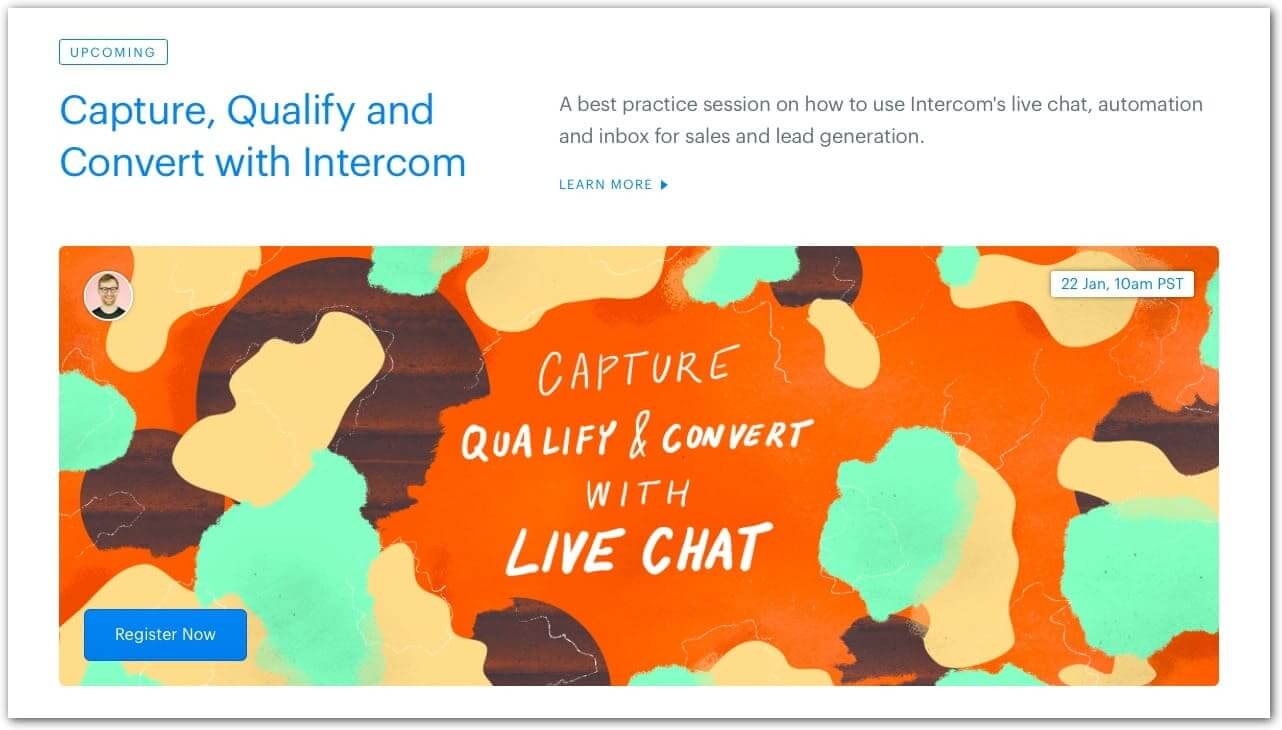
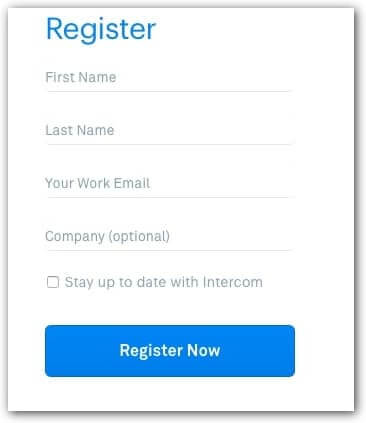
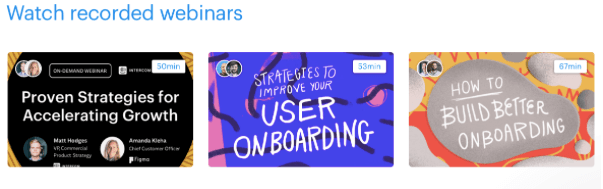
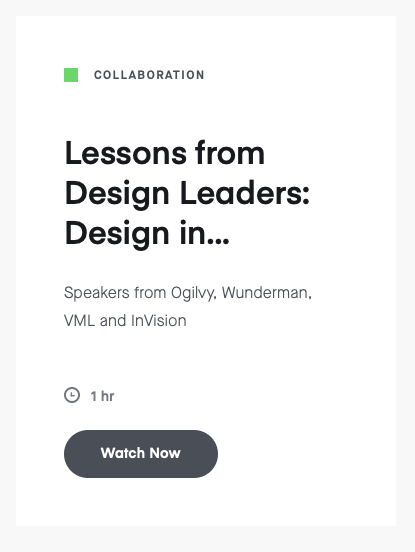
16) Webinar or recording of a lecture / event
This is done by universities, infobiz and generally those who sell knowledge. For instance, this could be a course for beginners:
Here is the entry form for one of these courses:
Or you can make part of the course materials available. This is what Intercom does — they have lots of materials in the public domain.
17) Parsing
How NOT to do webinars:
Entertaining lead magnets
18) Tests
ProProfs specialize in creating cool “tests” that are entertaining but also informative:

19) Curated entertainment content
BuzzFeed is the king of entertainment content, and with your permission, they will send you curated collections daily:

Bottom of the funnel magnets
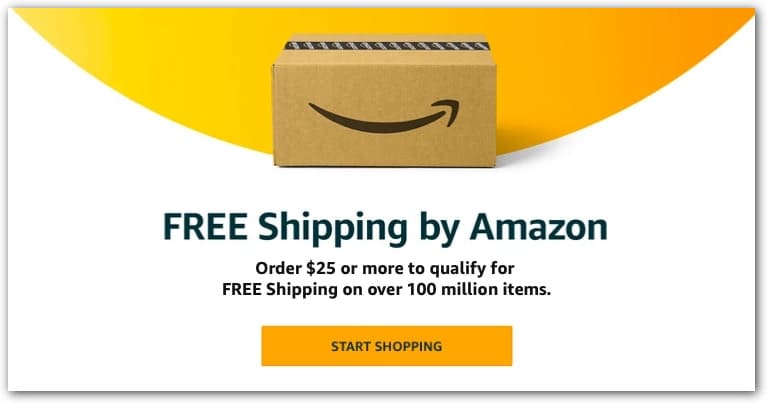
20) Free shipping
A very common strategy for online stores:
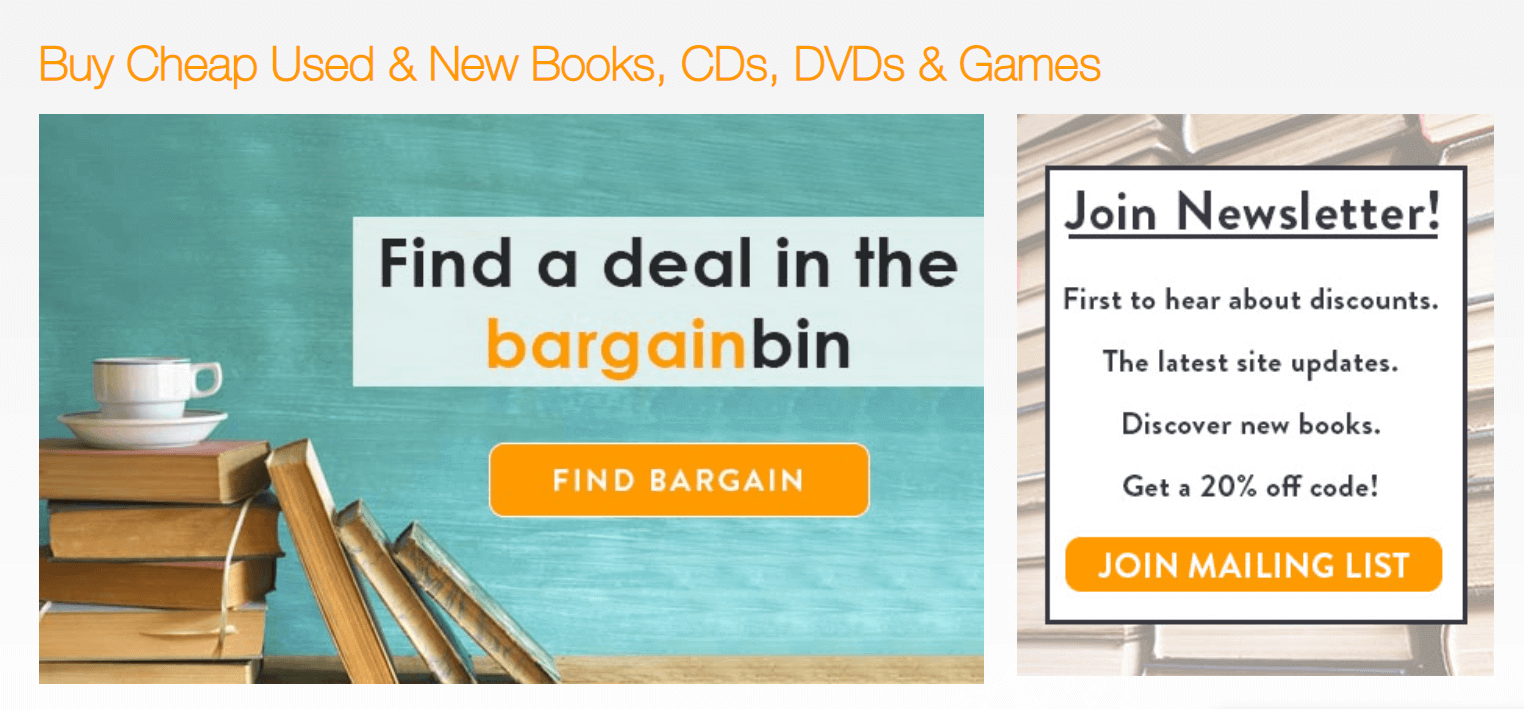
21) Discount / bonus on your first purchase
Also often used in online stores.
For example, British online book dealer awesomebooks.com gives you a 20% discount code when you subscribe:
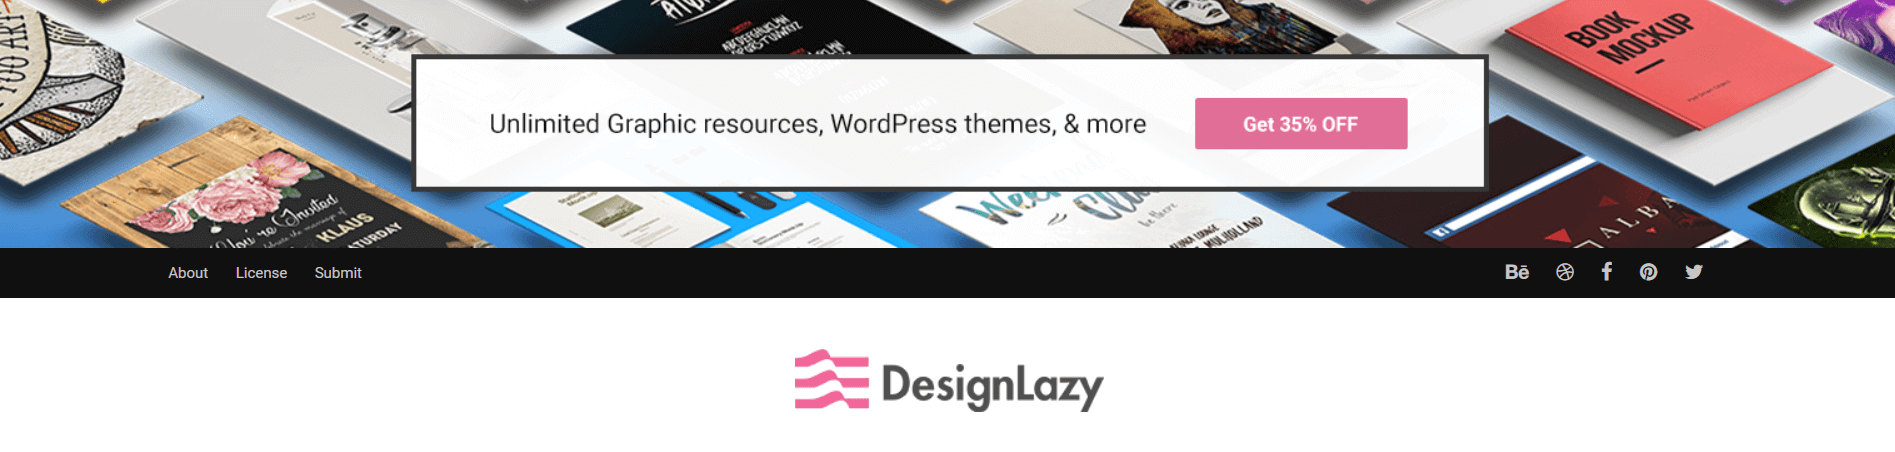
And DesignLazy offers 35% off:

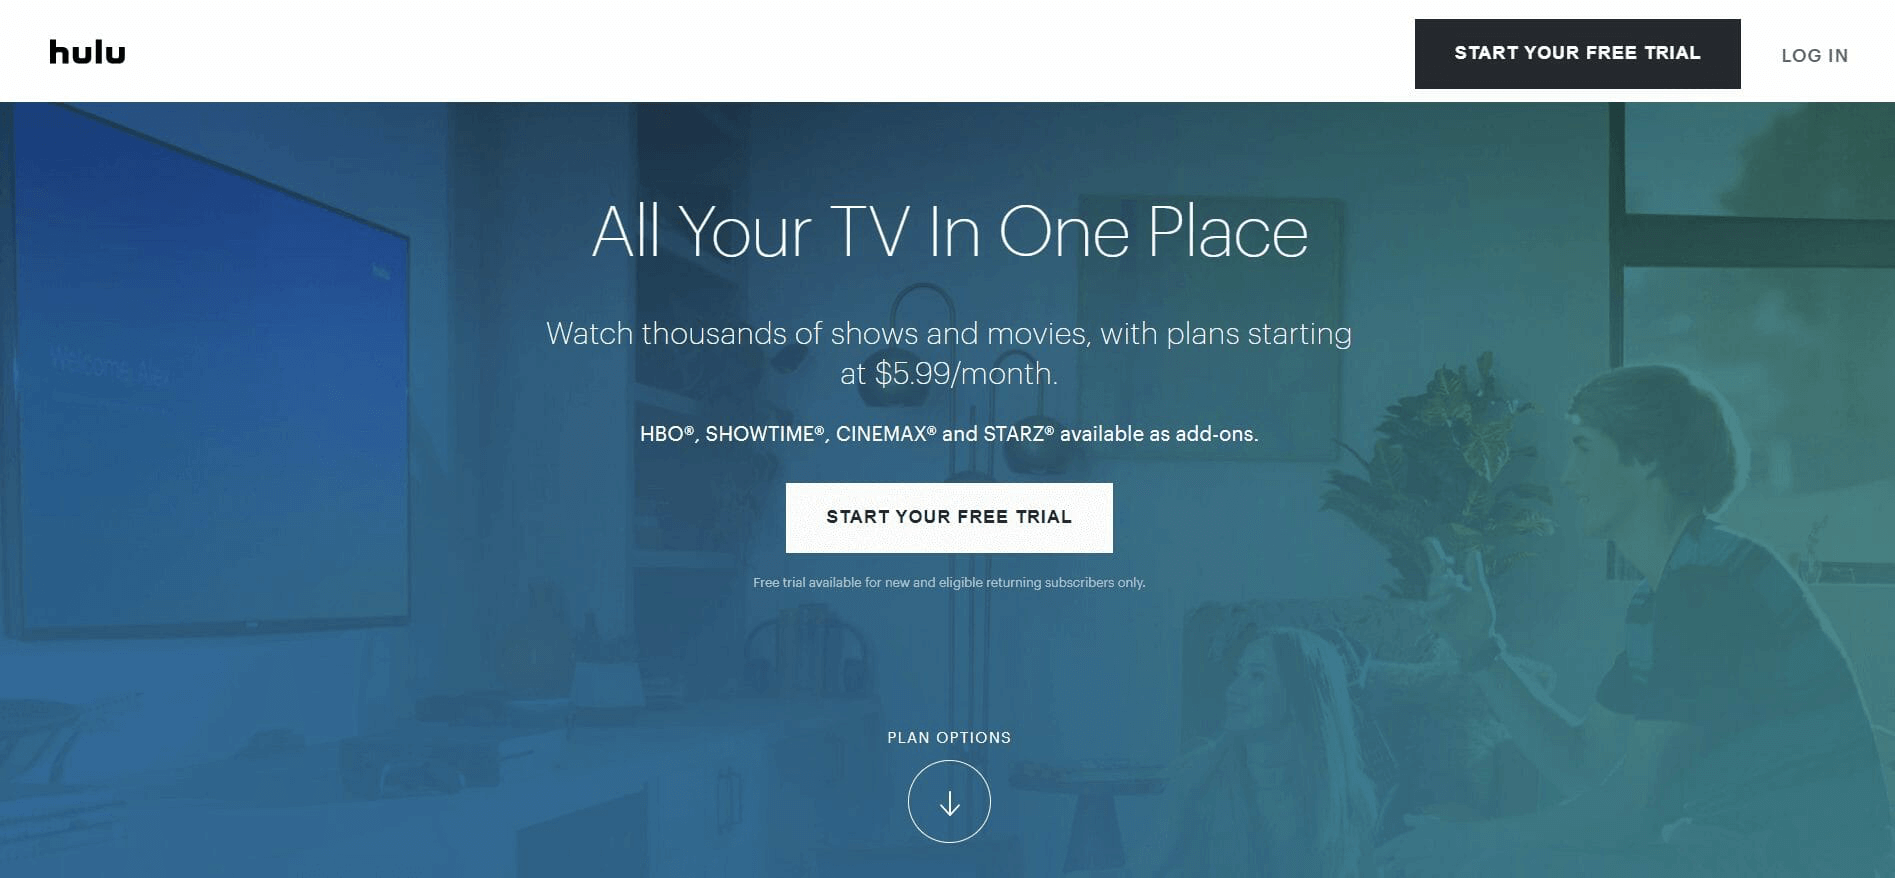
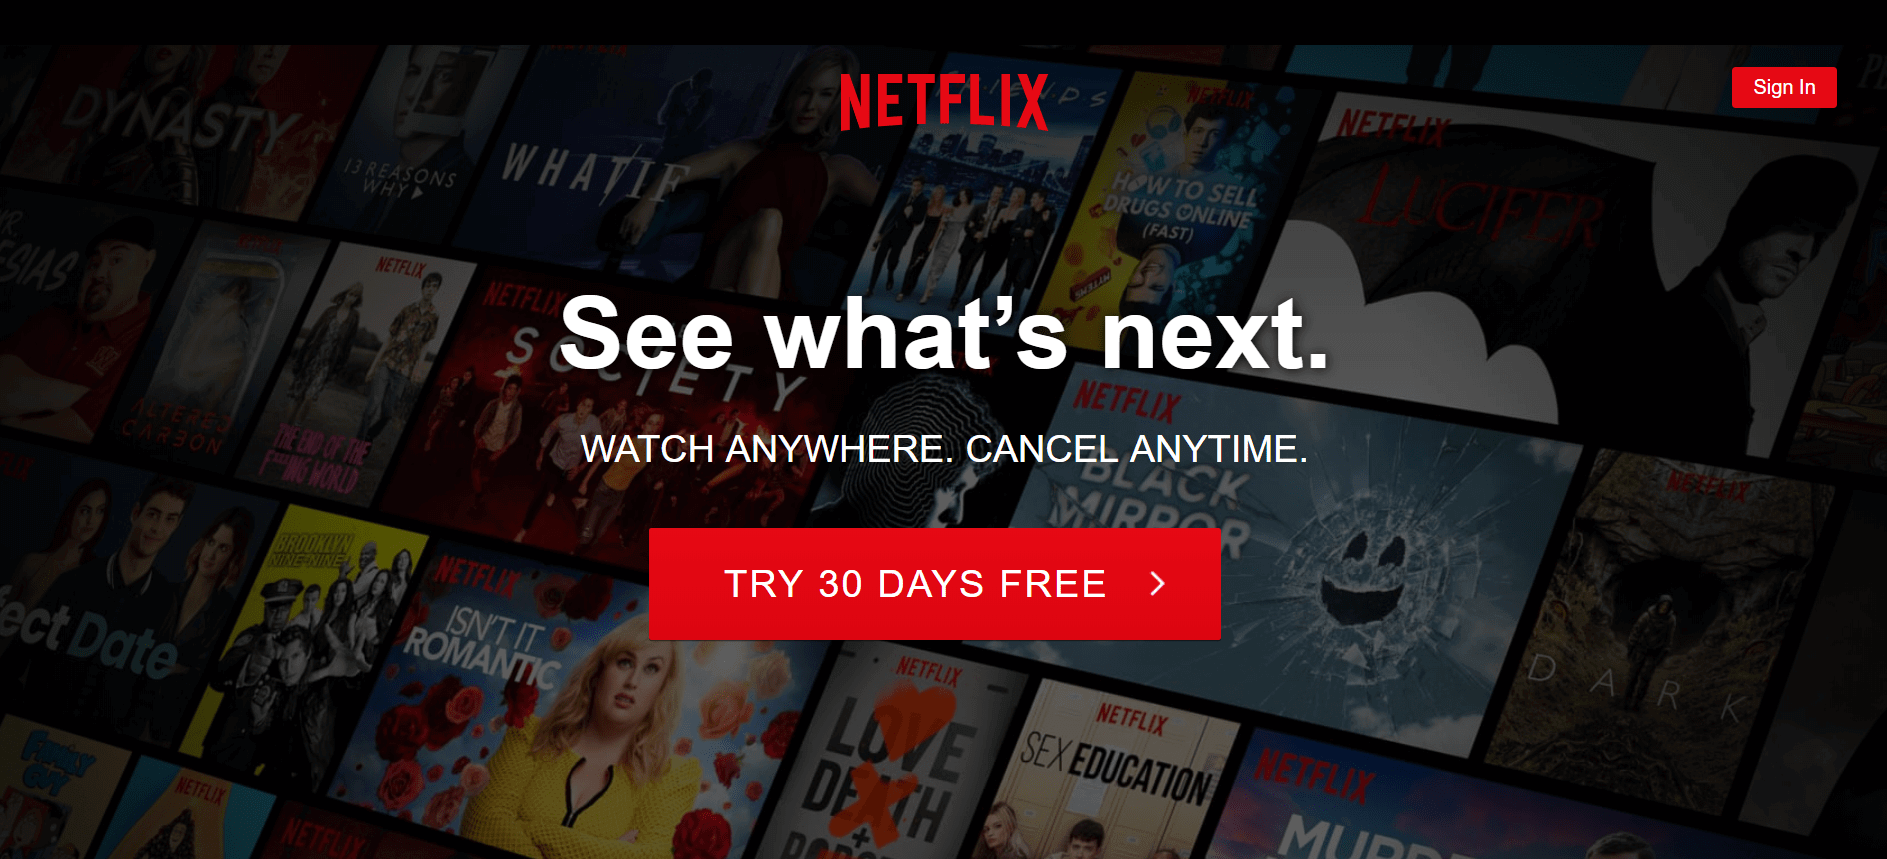
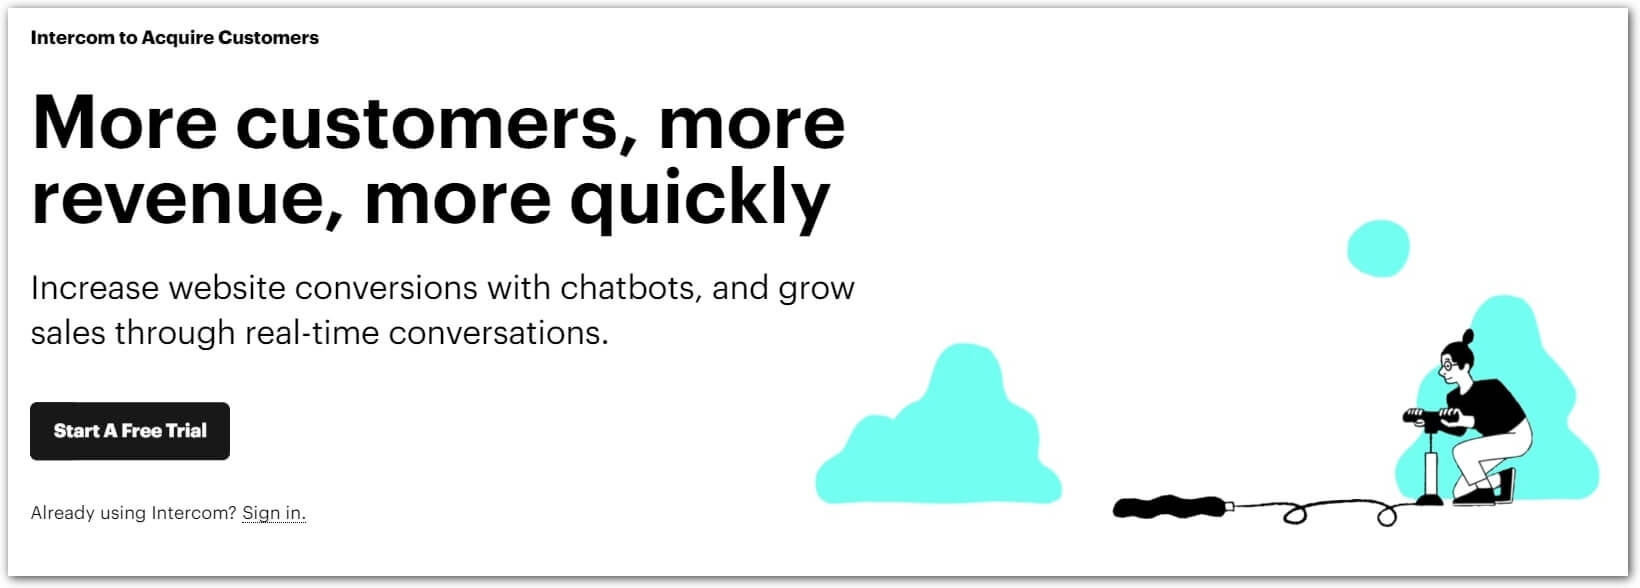
22) Free trial or demo
A free trial is a great tool because it relieves the customer of any risk. They can try the service for free and make sure they like it before spending money.
This is common practice in subscription services such as:
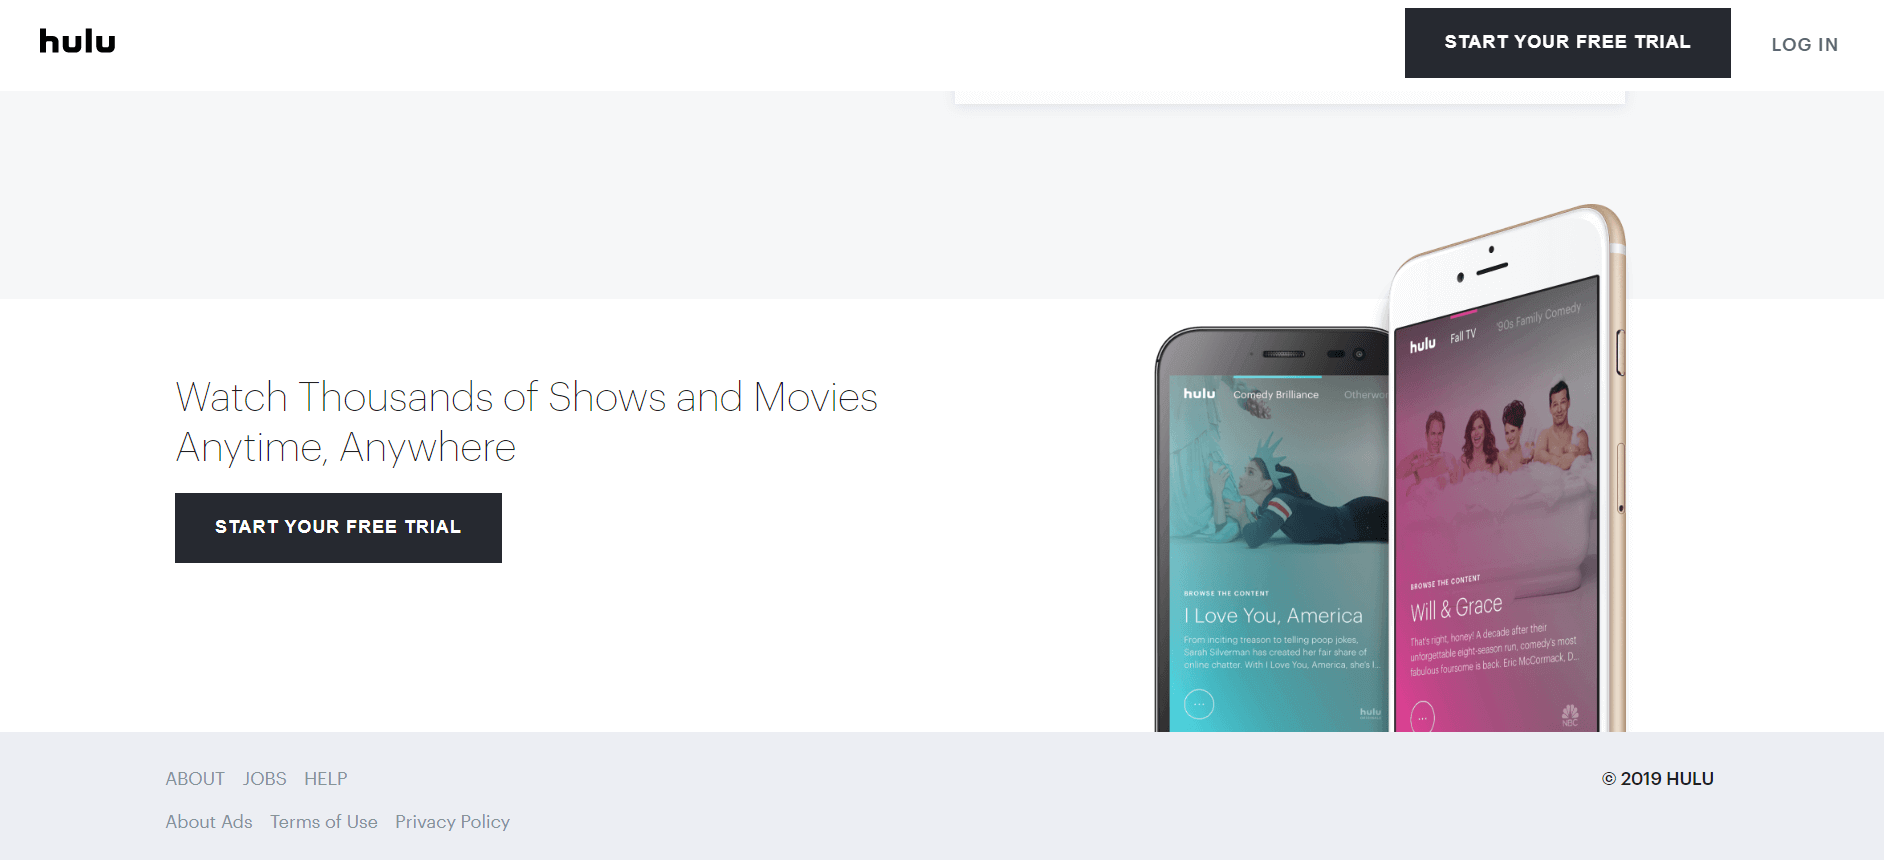
Hulu:
Netflix:
Intercom:
We also do this:
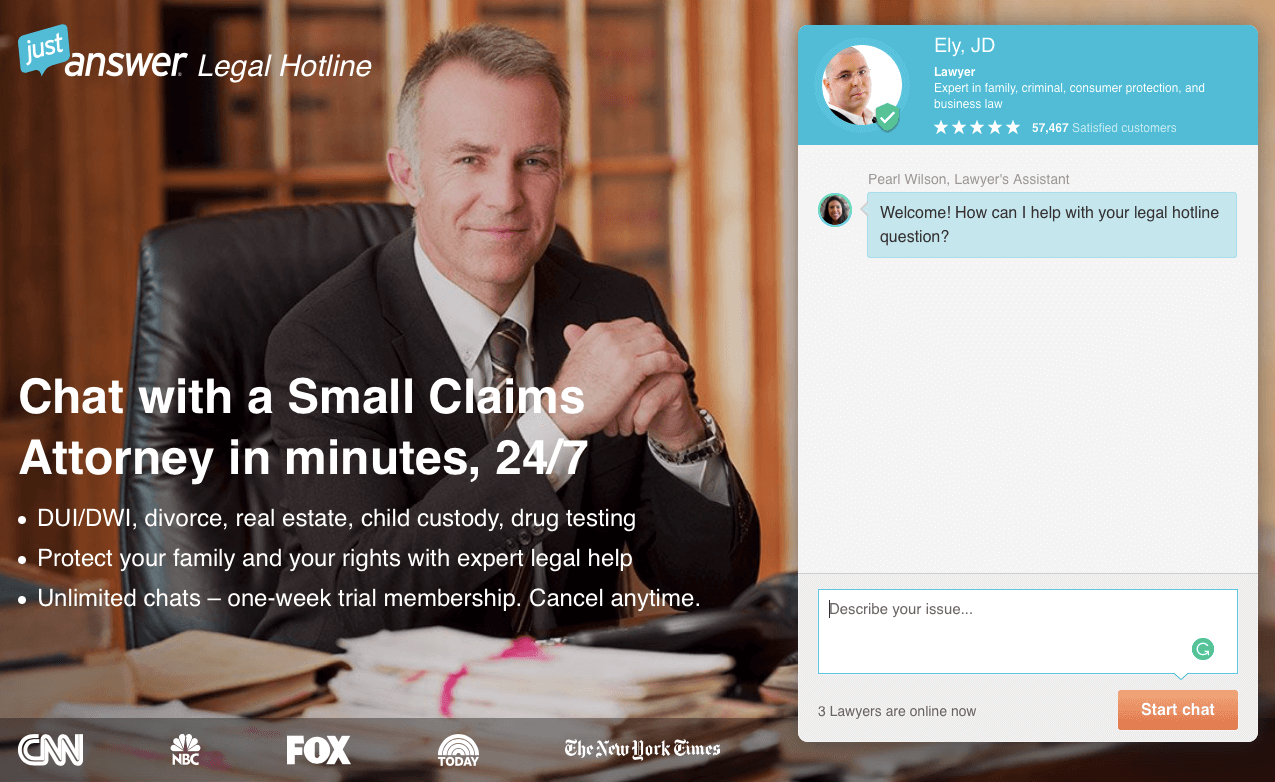
23) Free consultation
Earlier in this article, we talked about building an email list. But for some businesses, it makes more sense to collect phone numbers. For instance, this is common practice in legal services.
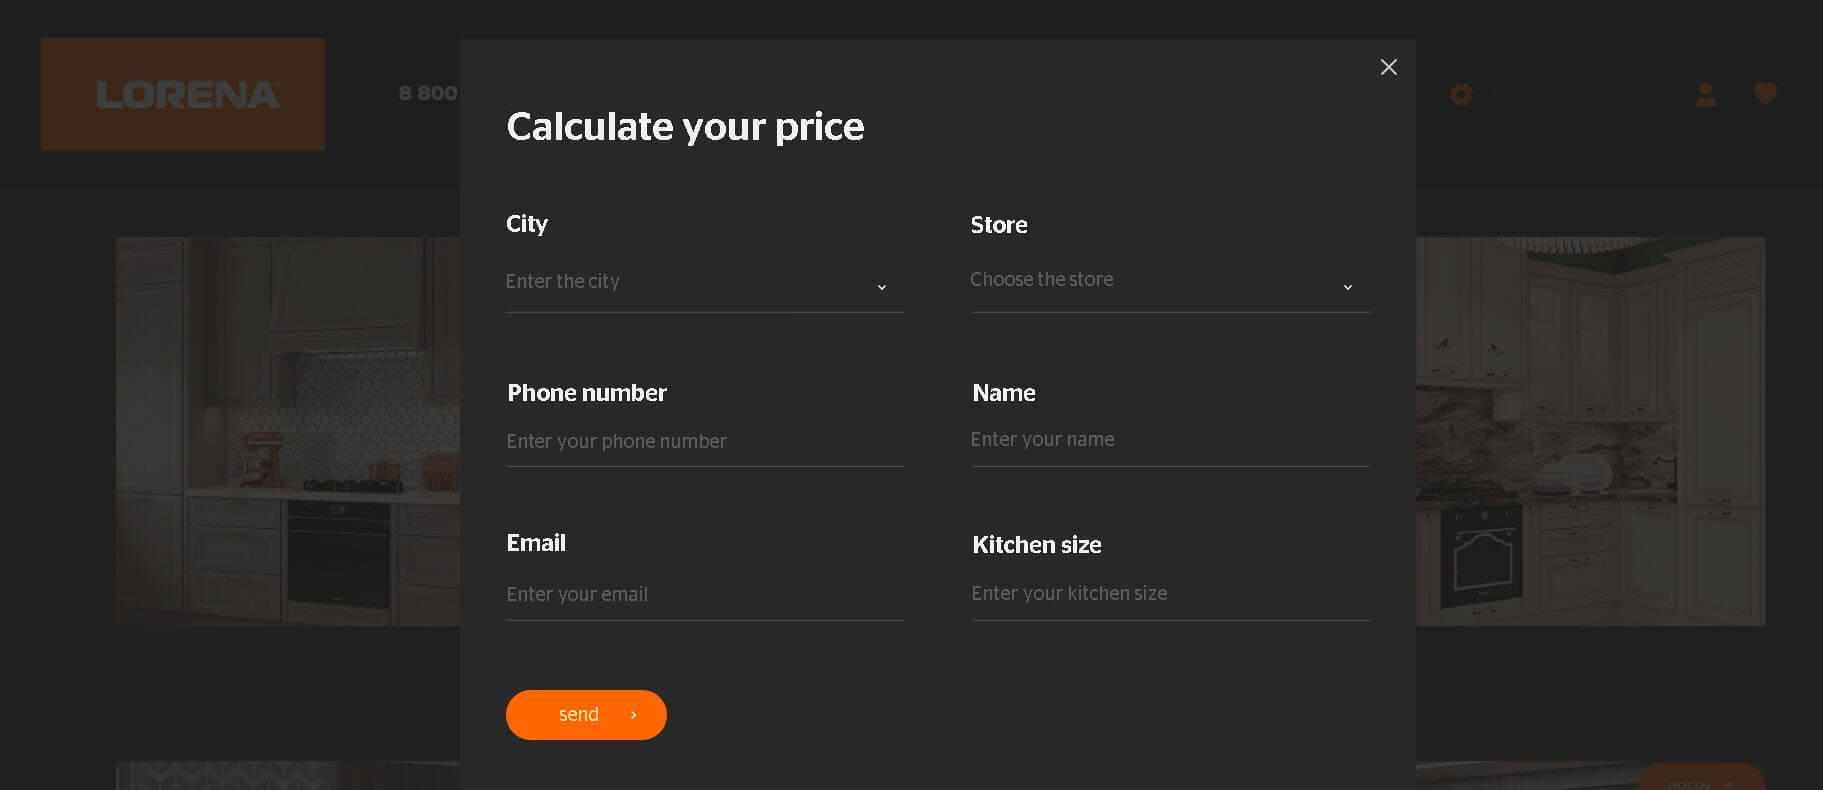
24) Free quotation
Here’s a simple example from a window/door/furniture manufacturer:
How to create and where to place a lead magnet
Lead magnets work better when they are properly planned. Your top priority should be to understand who you are creating it for. Who are your ideal consumers? What problems and desires do they have? And which of these problems and desires can you help them with?
So, your first step is to study your audience and draw up a portrait of your consumer. Next, you should select a value and, guided by it, create a lead magnet.
Your own blog and social networks can help you with this. Here’s how you do it.
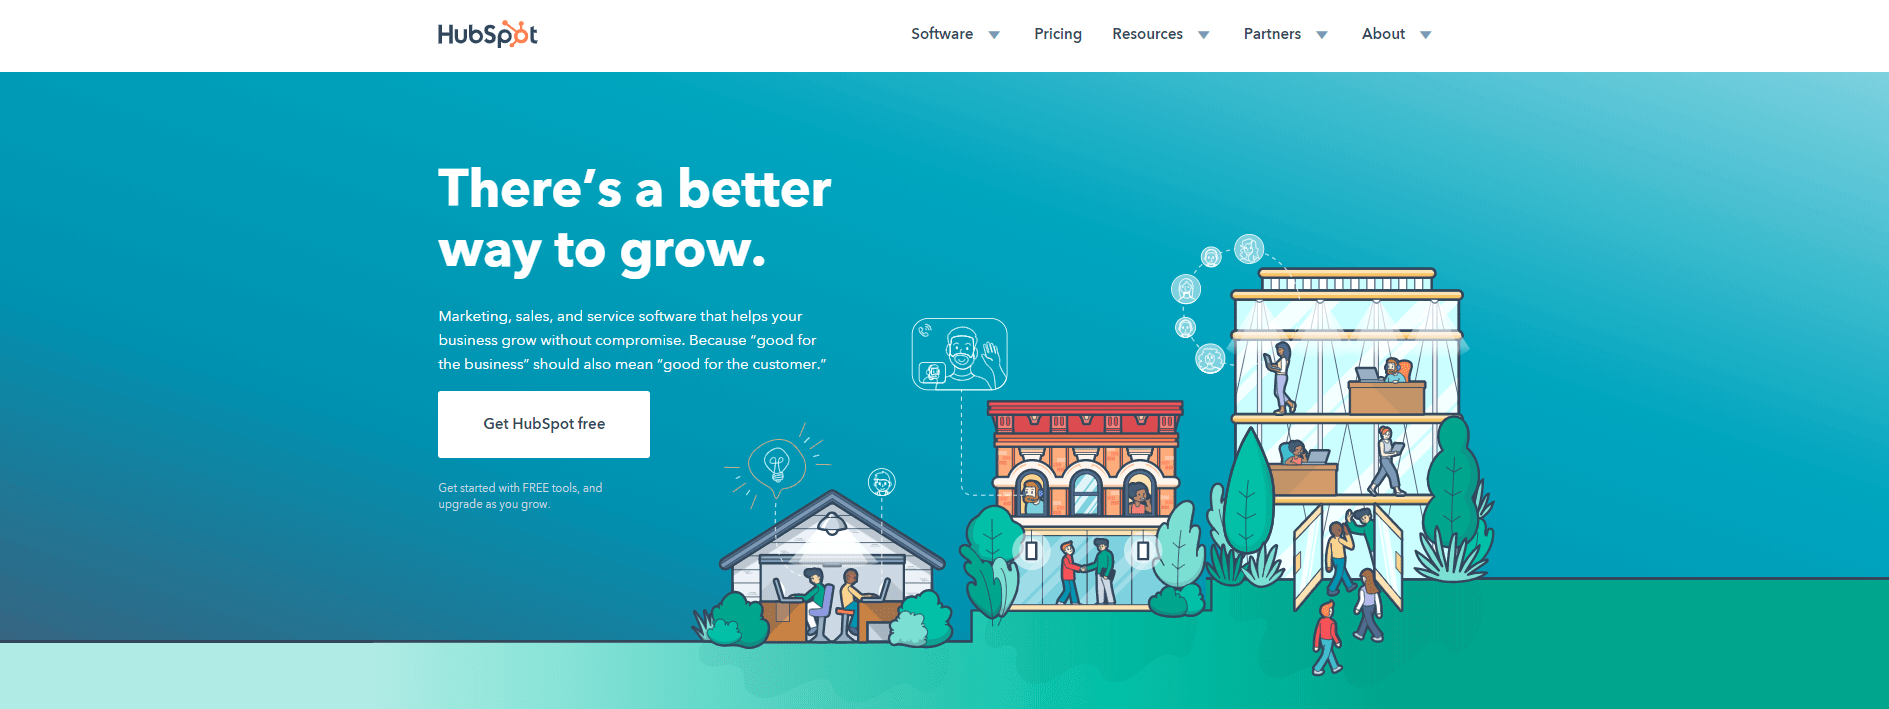
Create a lead generation form or pop-up — design, headline and text. Next, determine where you will place it on the site, or select pages and triggers for the pop-up.
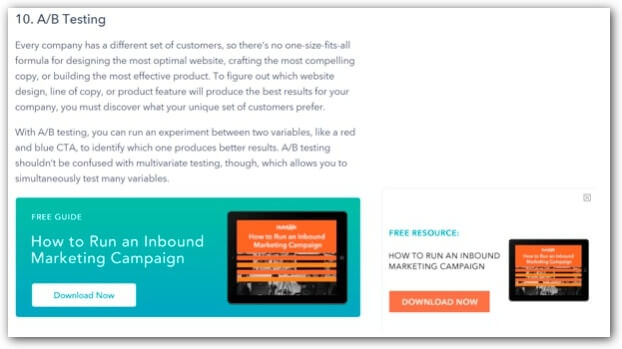
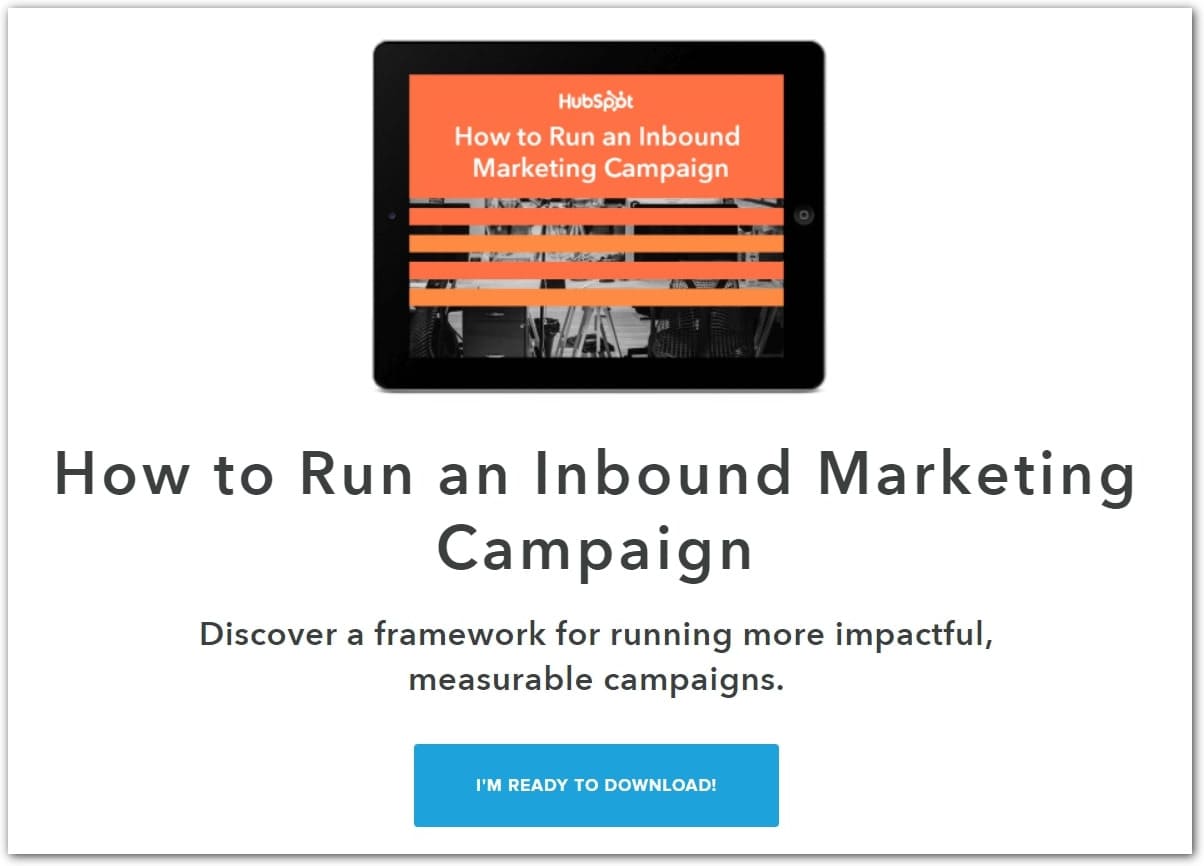
You can place the lead form on the most visited pages of the site, for example on the homepage. Here’s a big and very beautiful lead generation form on the Hubspot homepage:
You may also put it in the sidebar.
Or in the header:
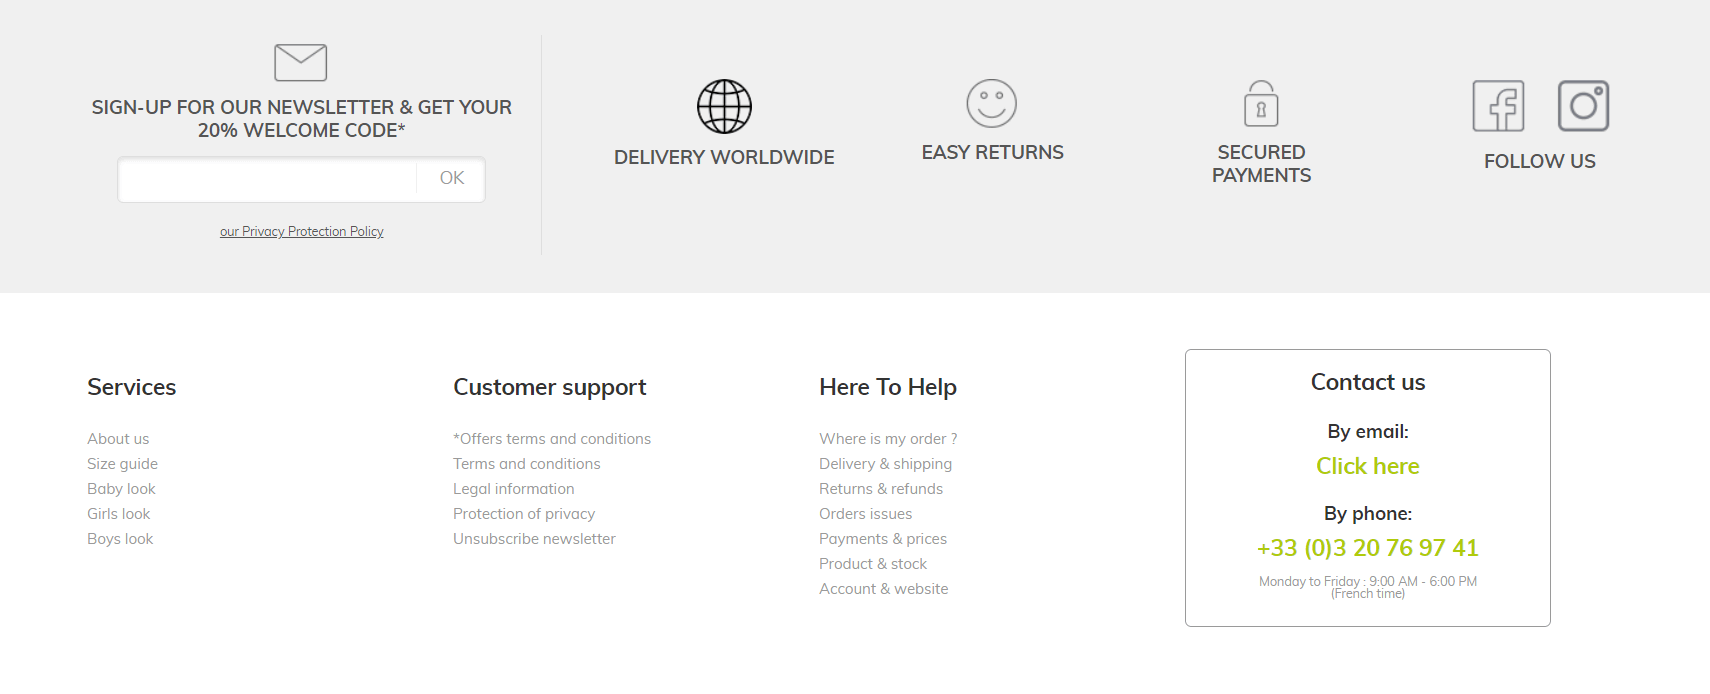
You can also place the form in the footer. Here, French online clothing store Vertbaudet are offering their readers a 20% discount for subscribing to their newsletter:
Here’s a similar offer. This time, it’s a free trial period from Hulu. Notice that it’s presented in two places simultaneously — in the fixed top panel and at the bottom of the page.
Another convenient and effective way, is pop-ups:
Here is another example from Hubspot, where on one page you immediately come across two lead magnets — a block after the article, and a pop-up:
You will need to consider all the places where you can place the form, and adapt the design accordingly. But don’t overdo it. And, of course, you need to test.
For the same Hubspot guide, there are at least two more options for the design of the lead form, depending on where it is located.
And such:

Welcome to the Family. Profit Is on Its Way!

How to make lead magnets work even better?
I know. You’ve spent a lot of time on a lead magnet, and you want it to work as long as possible and generate leads that will convert into buyers. Here are some tips that we learned:
1. Regularly update your lead magnets
Well, you’ve already spent much time on creating them, why wouldn’t you spend an additional hour to make it up to date? This will be cheaper and faster than creating a new one.
So, schedule time on this task — you may update them once in three months or once a year. I bet this will be enough.
2. Repurpose content
This is also a good idea. In Dashly, we often repurpose our content. For example, we create scripts for the video marketing of our blog articles. After adding some details, we save a lot of time searching for info especially for the video.
The same you can do with lead magnets — collect all the essential info from several articles and make a guide out of this. Less time spent — but still a good impact.
3. Use your content in advertising
Lead magnets are great for the first contact with the potential buyer. Use them in Facebook advertising to show your knowledge and professionalism — this way you’ll collect more new audiences. Thus, you’ll collect leads both on landing page (or blog page) and on Facebook or Instagram.
4. Remember who’s your target audience
Always keep in mind who you’re making these lead magnets for. If your target audience is SaaS, creating a cheat sheet on best tips for eCommerce isn’t a good idea. This is an exaggerated example, but I bet you know what I mean.
For better understanding, you may create buyer personas of your product. This will allow you to understand where to find them, what information may be useful for them, and so on.
5. Create a customer journey of your buyers
Lead magnets may be helpful in different stages of interaction with your product. For example, HubSpot highlights these three stages:
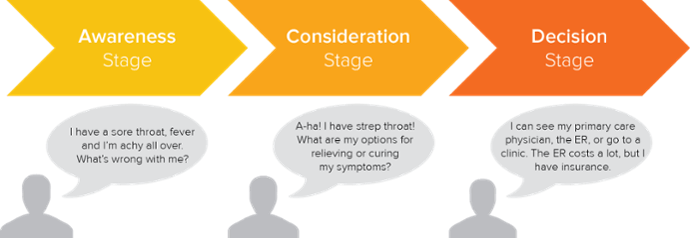
On the awareness stage, a prospect just realizes that they have a problem that they need to solve. They may start doing some research on this problem and more clearly understand this.
Consideration stage — this is about defining the problem and trying to find the solution for this. But on this stage the prospect doesn’t search for a particular product — they try to find approaches and methods that will solve their problem.
Next, buyers choose the solution — this is a decision stage. At this stage, a prospect has already made a kind of strategy of how they will solve the problem and what tools they will need to involve. They develop criteria for this tool and choose from a diversity of products. In the end, they will make a final decision.
Why did I tell you this?
Because content makes sense on all these stages, but the problem is that for different funnel stages you need different content. For example, on the awareness stage, you don’t need to tell a lot of information about your product — you need to help a person identify their problem. On the decision stage, you need to write your product features that will help to solve the prospect’s problem.
So, as well as who is your target audience, you need to always keep in mind the customer journey stage your buyer persona is now — and write the content that corresponds with their needs right now.
How to create a lead magnet
You can use Dashly to create the entire sequence: from the lead magnet to lead nurturing. Now we’ll tell you how to do so.
Step 1. Offer a lead magnet.
For this task Dashly pop-ups may come handy. You can use them to offer your lead magnet on your blog page or even on product landings.
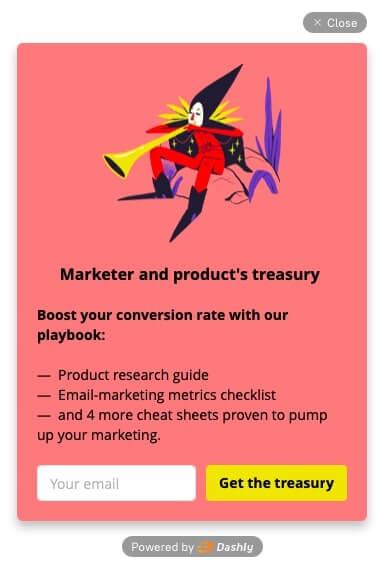
Let’s consider an example. In Dashly, we have a lot of useful materials for product marketers and marketers. So we decided to use them and offer to our website visitors as a lead magnet. For this, we use this pop-up, and I bet you might have seen this:
Believe or not, but this lead magnet was made of blocks on the block pop-ups section, and it took 10 minutes to configure this. Let me show you. First, go to the Dashly admin panel and choose triggered messages. Then go to the Triggered messages section –> Create a new message. Here you need to choose the type of message — let’s say this is a pop-up, but you also can use a chatbot or live chat for this. You may use a pop-up builder (a tool that helps to create pop-ups within the Dashly interface without involving developers) or choose any pop-up from our templates.
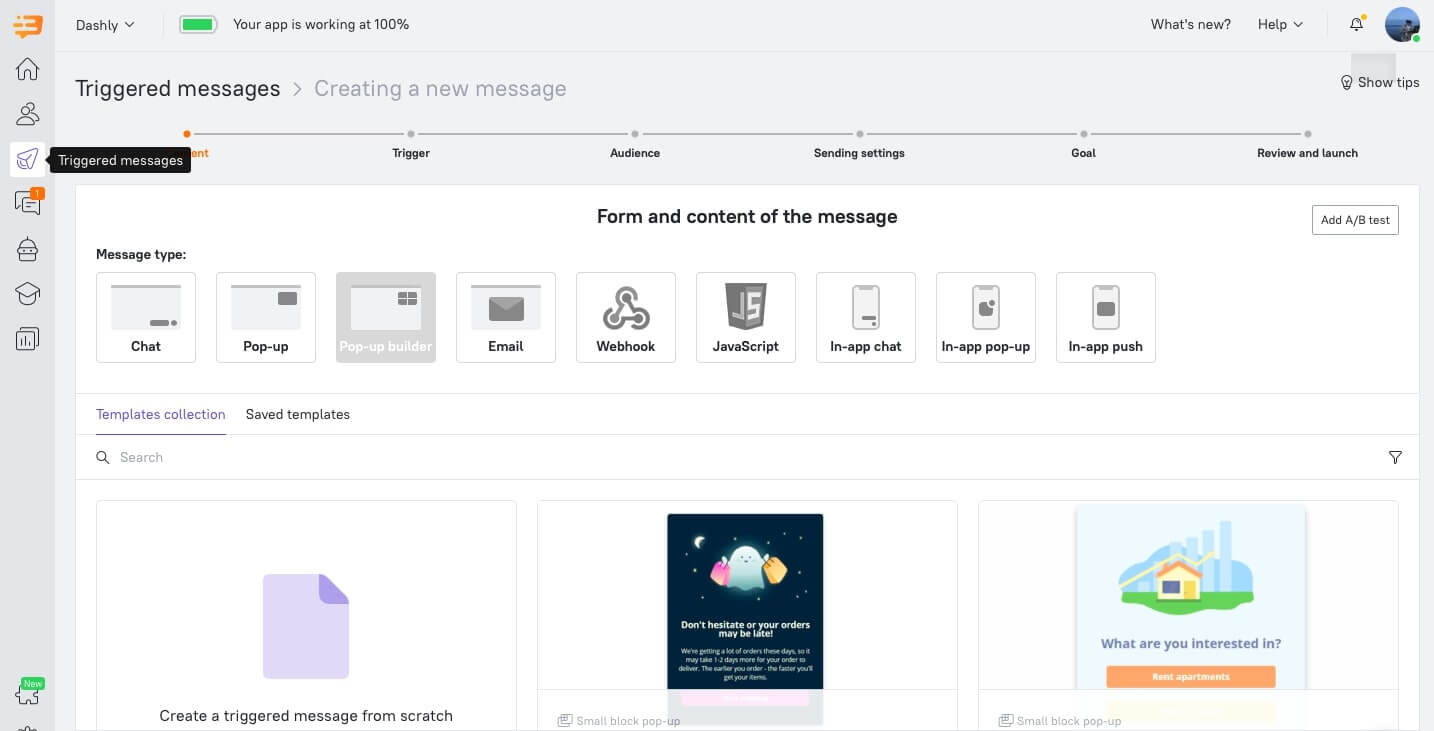
After this, you need to choose a suitable template or design your own.
The next step — you need to make up the message on the pop-up, choose the image and CTA. Try to give instant value to your users — offer something unique and relevant for the user. In other words — use our tips above:)
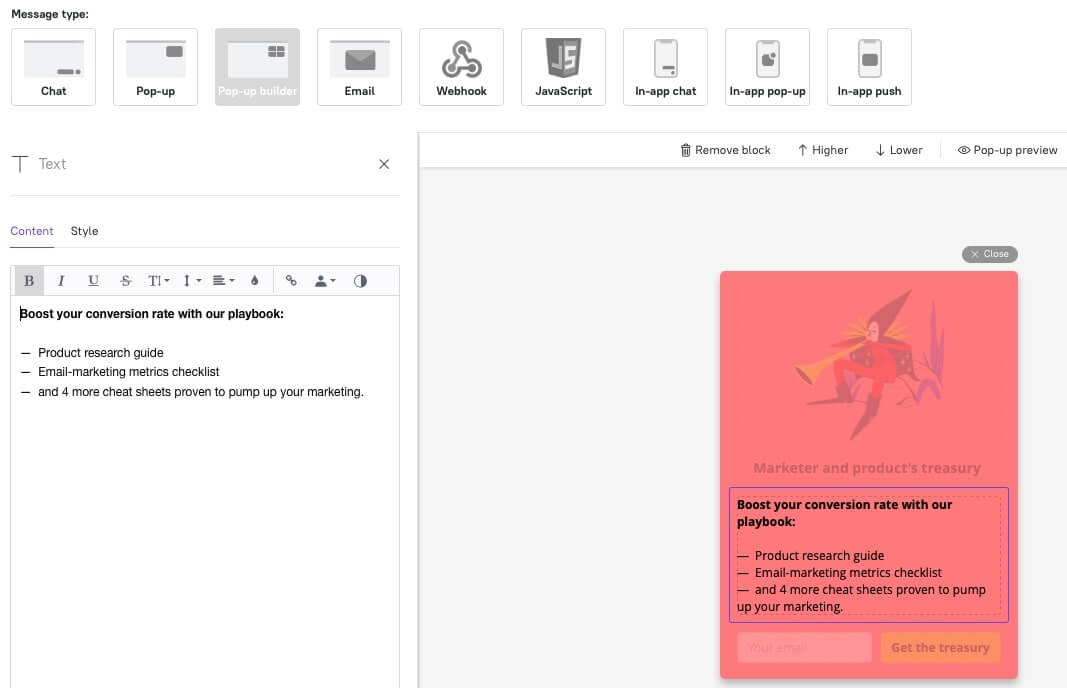
We ask users to leave their email, but you also can collect names, phone numbers or any other lead property.
After configuring the content, you need to choose the trigger. Usually, when we launch a lead magnet like this we choose something like “Visited <page>” or “scrolled to the middle” and so on.
The audience section describes people who will get your message. These could be people who visit your website for the first time or those who commited a particular action. For example, you may send the email only to those who visited your website at least once last week. Or only to people whose name you know.
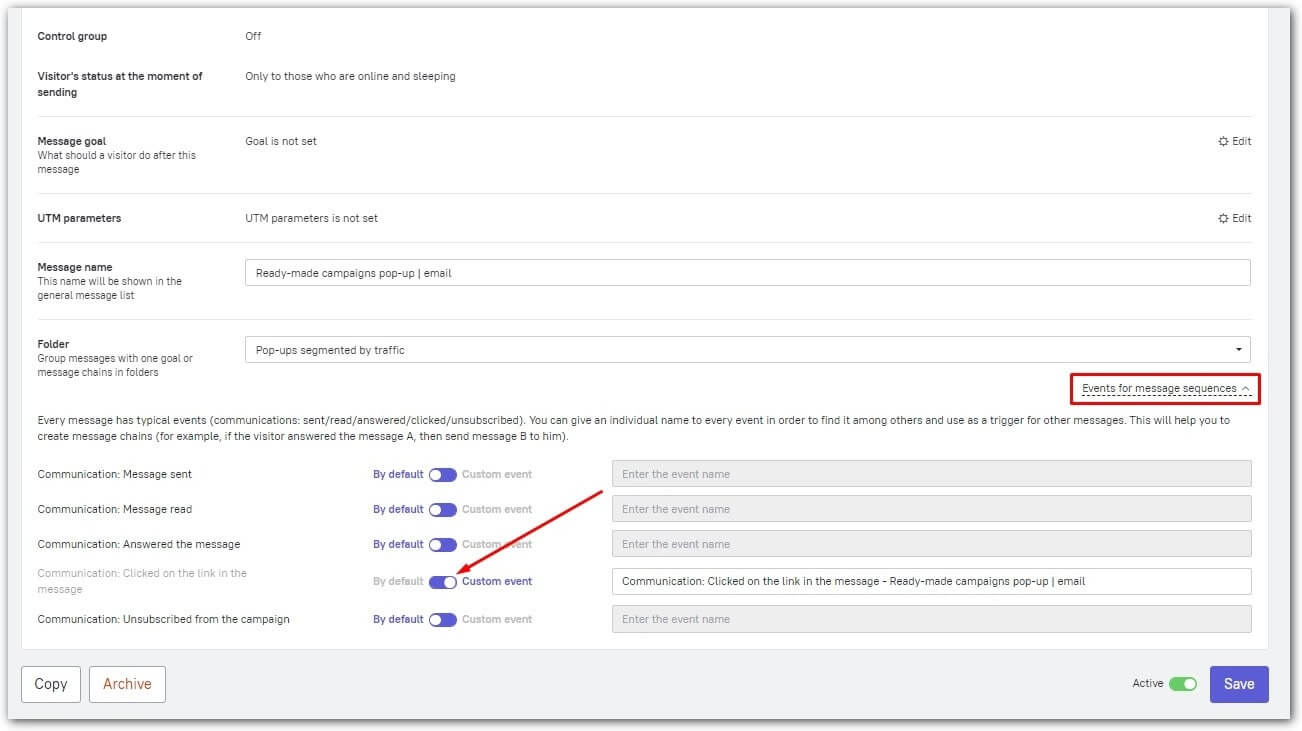
Next — choose sending settings, and the goal if needed. Maybe, you’d like to resend the message in case the user didn’t reply to you in two days? Or maybe you want to test this message — in this case, you need to choose the control group and start this experiment.The last step — create the custom trigger out of this message. To do so, choose events and sequences in the ‘Review and launch’ section. Choose the event you’d like to become a trigger (in our case, this should be ‘Clicked on the link on the message’).
We would recommend naming communication events in a similar way: ‘Communication: ‘communication type’ — ‘message name’. It will let you recognize these events easier.
After committing this, you’ll be able to find the trigger in the trigger section for other messages. Remember this moment, we’ll be back to this a bit later.
Ready! The first step of the lead nurturing campaign is configured.
Again, note that pop-up windows are not the only way to catch the lead. You may also use the Leadbot or the live chat for this. We have articles about this in the Knowledge base:
- how to build a Leadbot:
- how to configure the live chat messages.
Also, in case you have some questions about the pop-up builder, you may read this article or write to our support center.
Step 2. Send the lead magnet
Obviously, it’s not enough to collect the lead — you need to fulfill the promise and send the lead magnet to the visitor. One of the easiest ways to do this is to configure the triggered sequence — this way your messages will be sent automatically after the user left their email in the lead magnet. Let me explain how it works!
We’ll continue to analyze the example of marketers’ treasury. The user completed the target action — they left their email and now wait for the chain letter with our lead magnets. When they open their inbox — the email is already here. So that, you need to do completely nothing for this.
If we look at the technical side — they’ve just committed an event. This event is a trigger for the lead magnet email. And after the event is performed, the email is automatically sent to the user.
First, you need to create the message itself. As in the case of the pop-up, you may choose this out of templates or create by yourself with the email builder or JS (advanced level of creating emails). Write the message and of course don’t forget about the link to your lead magnet.
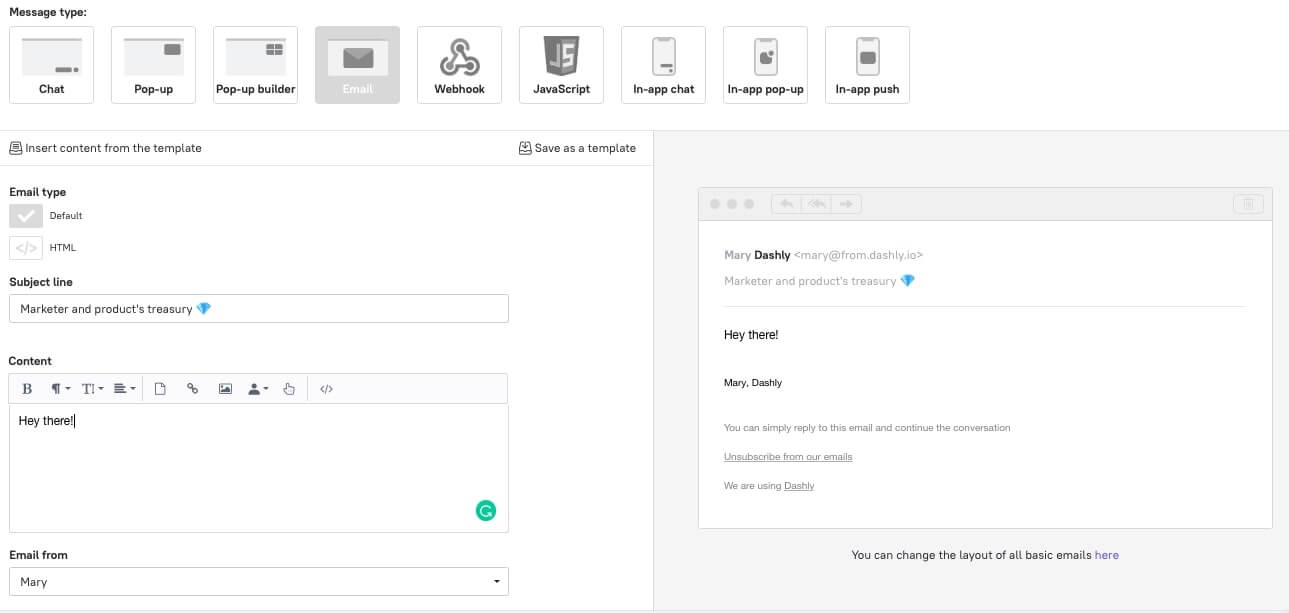
The next step is the trigger. Here our trigger from the previous step comes useful. Choose the trigger from the list. By doing this, the email will be sent only after the user committed the target action — in our case, this is Clicking on the link in the treasury pop-up.
The Audience, Sending settings and Goal section are the same as in the pop-up configuration. I’ve already talked about this, so let’s not dwell on this.
Step 3. What’s next?
In case you need to continue the nurturing, you may configure another triggered email or any other message — leadbot, pop-ups, chat messages. Don’t forget to choose the trigger in the admin panel!
That’s all folks! Now you’re Yoda of lead magnets and lead nurturing. Be proud of your lead magnets, boldly distribute them, and remember that giving is much nicer than receiving!
| This article was first published on February 12, 2020. April 2, 2021 we’ve updated it. |
Read also:
- The best way to collect emails: 5 top-notch methods unveiled
- 3-step guide on inbound lead qualification: how to qualify inbound leads on autopilot
- Choose your ideal lead nurturing platform: Top 10 software tested by experts
- 7 best email capture tools: features and pricing compared for 2024


![Top 10 Best Custom Chatbot Platforms for your website [+AI]](https://www.dashly.io/blog/wp-content/uploads/2020/06/cover-1-720x308.jpg)

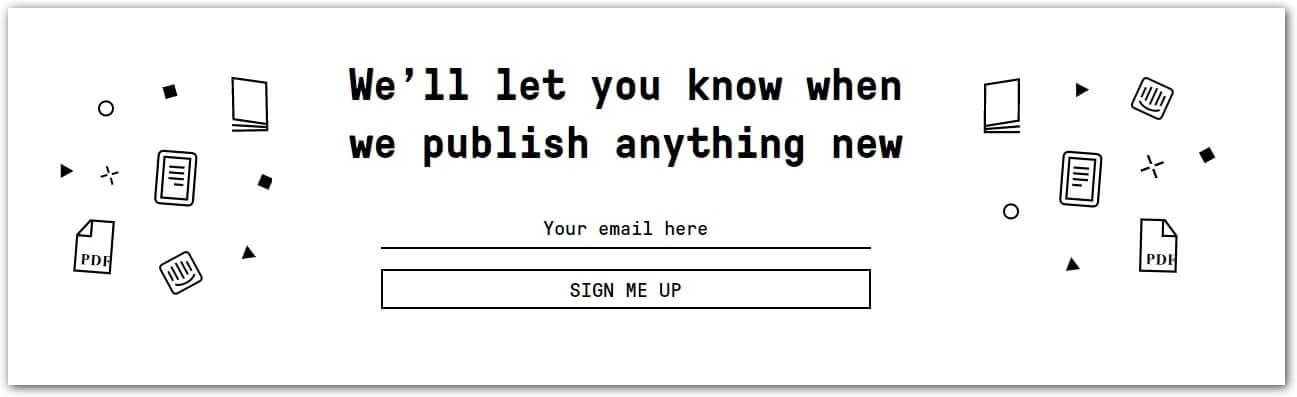
Subscribe to Dashly newsletter
Join the community of 13,000 pros who get expert insights on marketing, support, and sales in a weekly newsletter


