How to create website
popups without a developer

A designer, copywriter, and developer — the specialists you may need to create a popup and add it to your website. Sounds expensive. And several years ago, it was so.
But today, the only tool you need to create a popup is you!
With the professional popup builder, making an essential popup window won't take more than 10 min.
Let's check if it's true on the Dashly Popup Builder example.
But today, the only tool you need to create a popup is you!
With the professional popup builder, making an essential popup window won't take more than 10 min.
Let's check if it's true on the Dashly Popup Builder example.

Dashly Pop-up Builder
But, first, make that we're on the same page about what is popup builder
Popup Builder is an app aimed to create custom popup windows for a website in the visual editor. Thus, a user with zero-coding skills can quickly build a popup from scratch or templates using custom fields, links, images, and text without developers and designers.
Here is how Dashly Popup Builder looks like:
Here is how Dashly Popup Builder looks like:
It's easy. Just follow the nest steps and create your first popup in 10 minutes.
How to create website popups without a developer
7 days of free trial. No credit card required


Define the goal of your popup
With the help of Dashly Popup Builder, you can
Capture email addresses and phone numbers of website visitors.

Lead capture popup templates
Read more from email capture pop-ups.
Collect feedback about your product, feature, or service

Feedback popup templates from Dashly Builder
Read more from survey pop-ups
Qualify leads by different parameters (company size, interests, industry, budget, etc.)
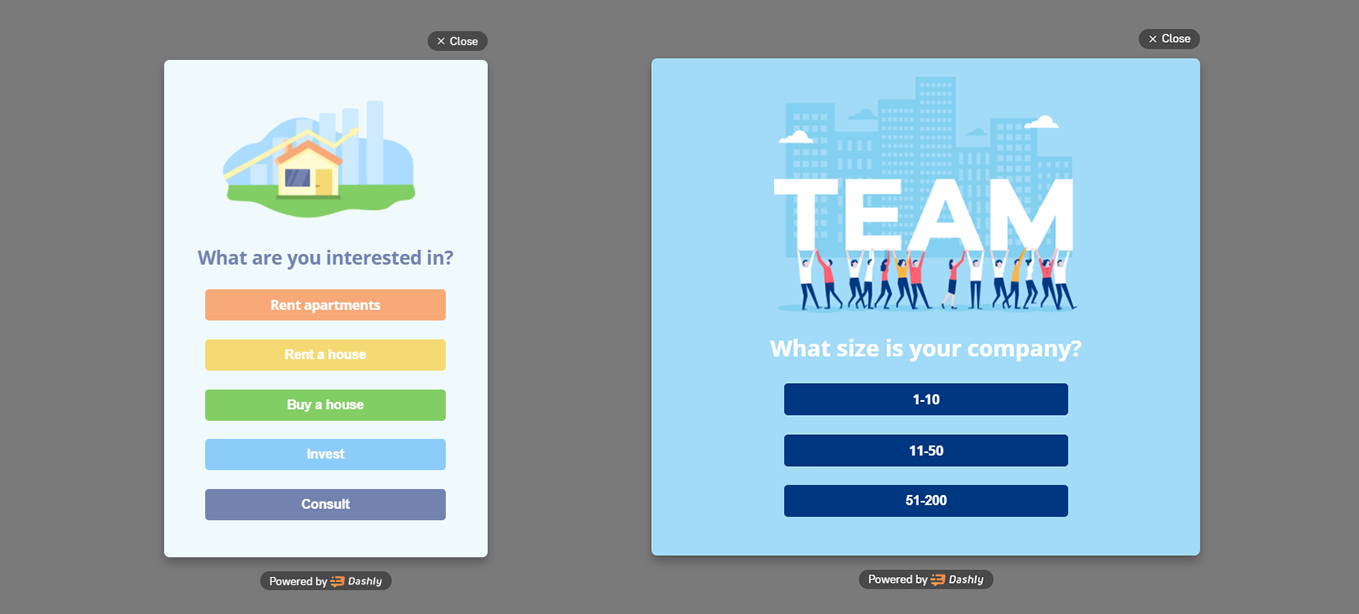
Lead qualification popup templates from Dashly Builder
Increase the sign-up conversion

Sign-up popups templates
Read more from email capture pop-ups
Activate into a new feature

Popup template
Notify a user about the important events/opportunities

Informational popup templates
Navigate visitors
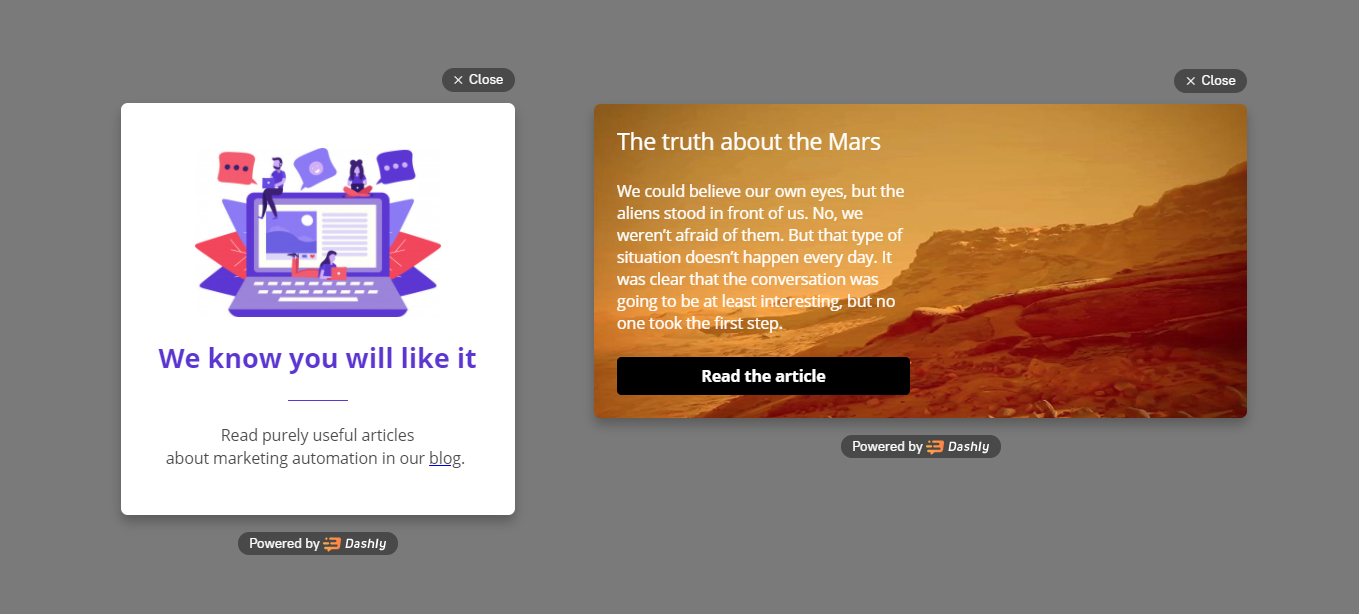
Navigation popup templates
Boost sales
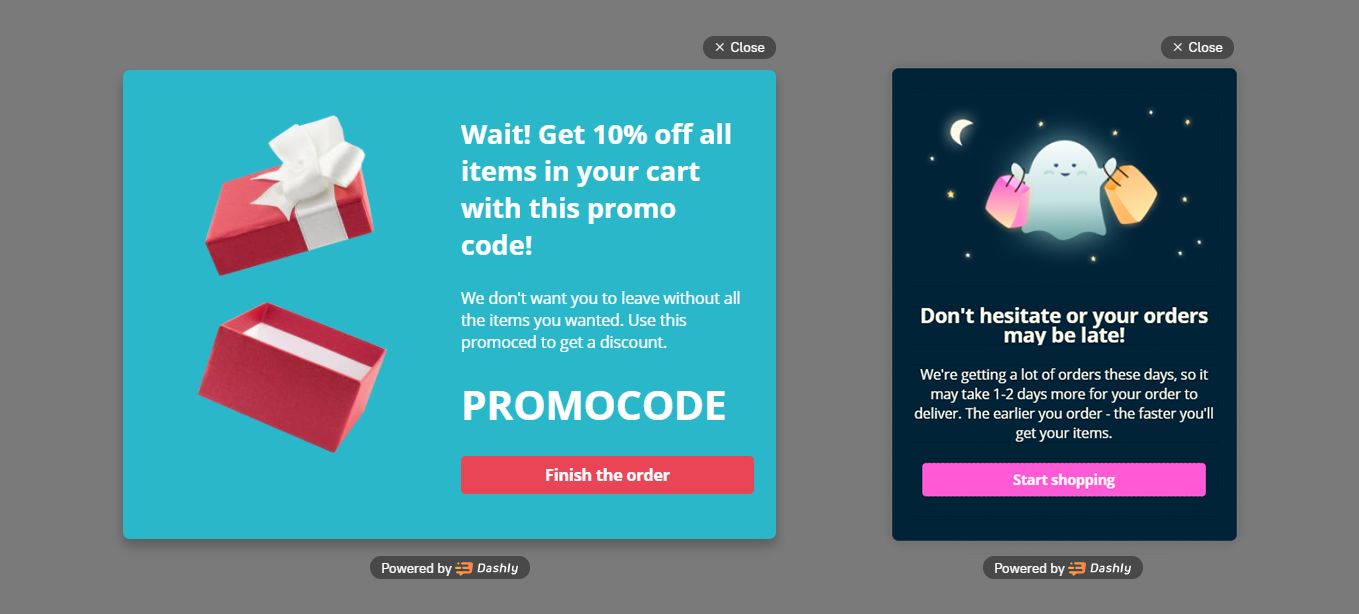
Sales & Promo popup templates
How to create website popups without a developer
7 days of free trial. No credit card required
Design the popup content elements
In Dashly Popup Builder, you can customize each part of the chosen template or create one from scratch.
Let's try with the last one and create a typical email subscription popup.
Let's try with the last one and create a typical email subscription popup.
1. When you press "Create message" in the trigger message part of Dashly Admin panel, there will be two popup size options:
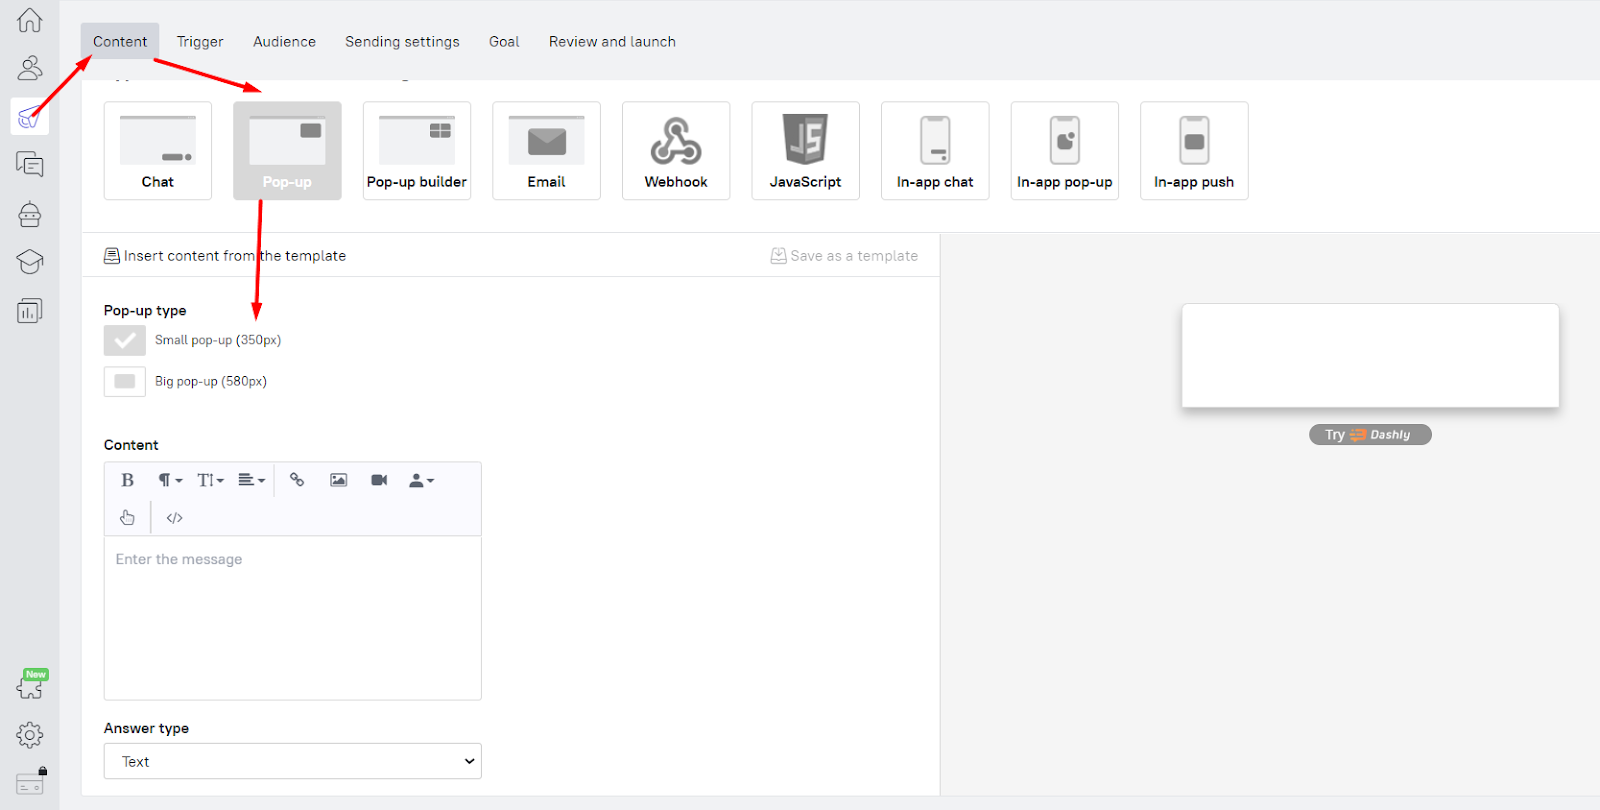
In addition to size, the main difference between them is that the big popup is centralized and blocks other objects when the small one is less eye-catching and shown on the side.Let's choose the big one, for example.
2. The popup window design composition can consist of one or two content columns. Since we follow the classic, I'll leave the first one.
3. To fill a popup window with a content, you have a number of blocks to add:

All your actions will be displayed on the right screen. It is easy to understand the way your pop-up will look on a website.
4. Let's start with the background. In the popup settings, you can set a color or upload a picture.
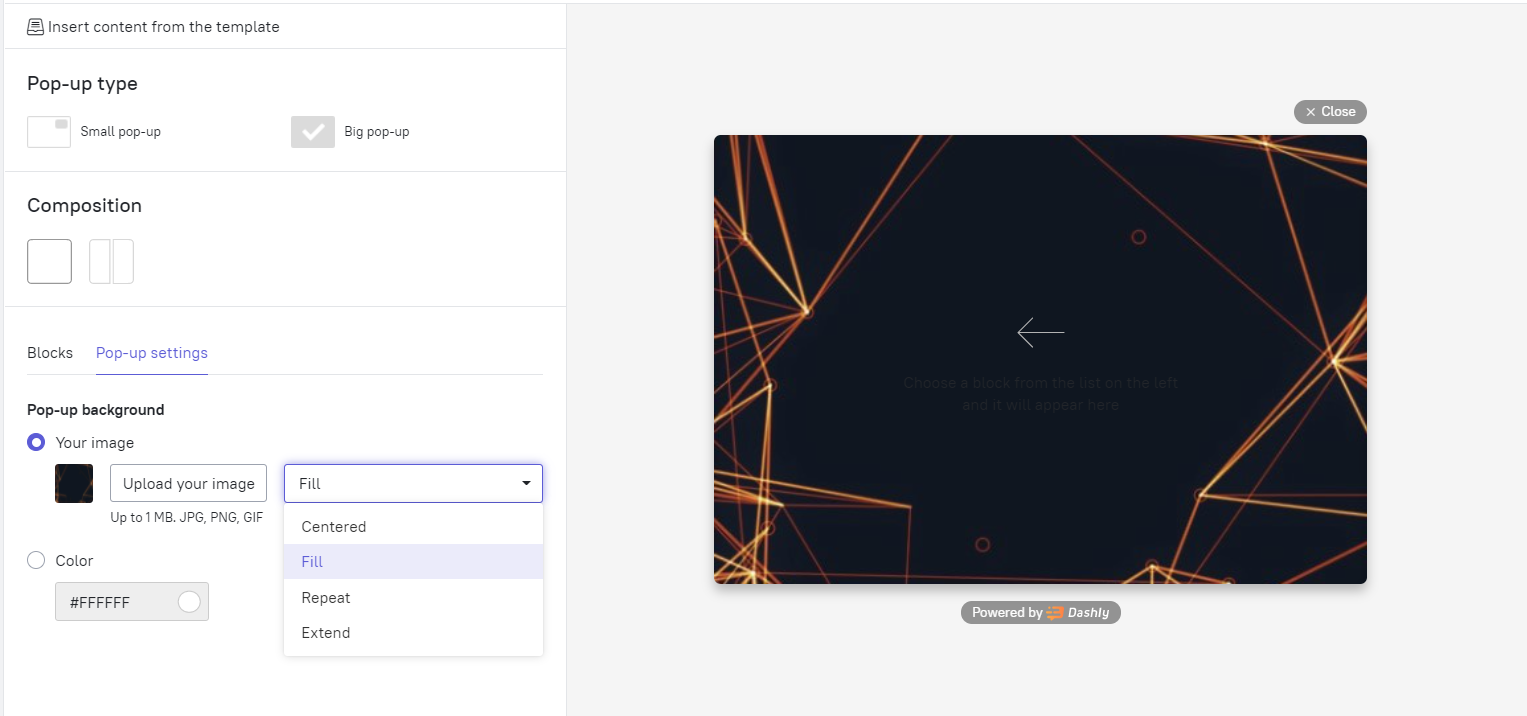
It will automatically fill the popup space. Dashly popup builder also allows you to change the background image layout on centered, extended, repeated.
You can also add an image as a separate media file and change its layout accordingly. Just choose the relevant block in the list. This option is popular in case of a monotone background or when it isn't used at all.
But let's back to our email subscription popup.
You can also add an image as a separate media file and change its layout accordingly. Just choose the relevant block in the list. This option is popular in case of a monotone background or when it isn't used at all.
But let's back to our email subscription popup.
5. Time to create the pop up text. In the relevant popup builder block, you can type and format the text, add a link or personalize the greeting with username:
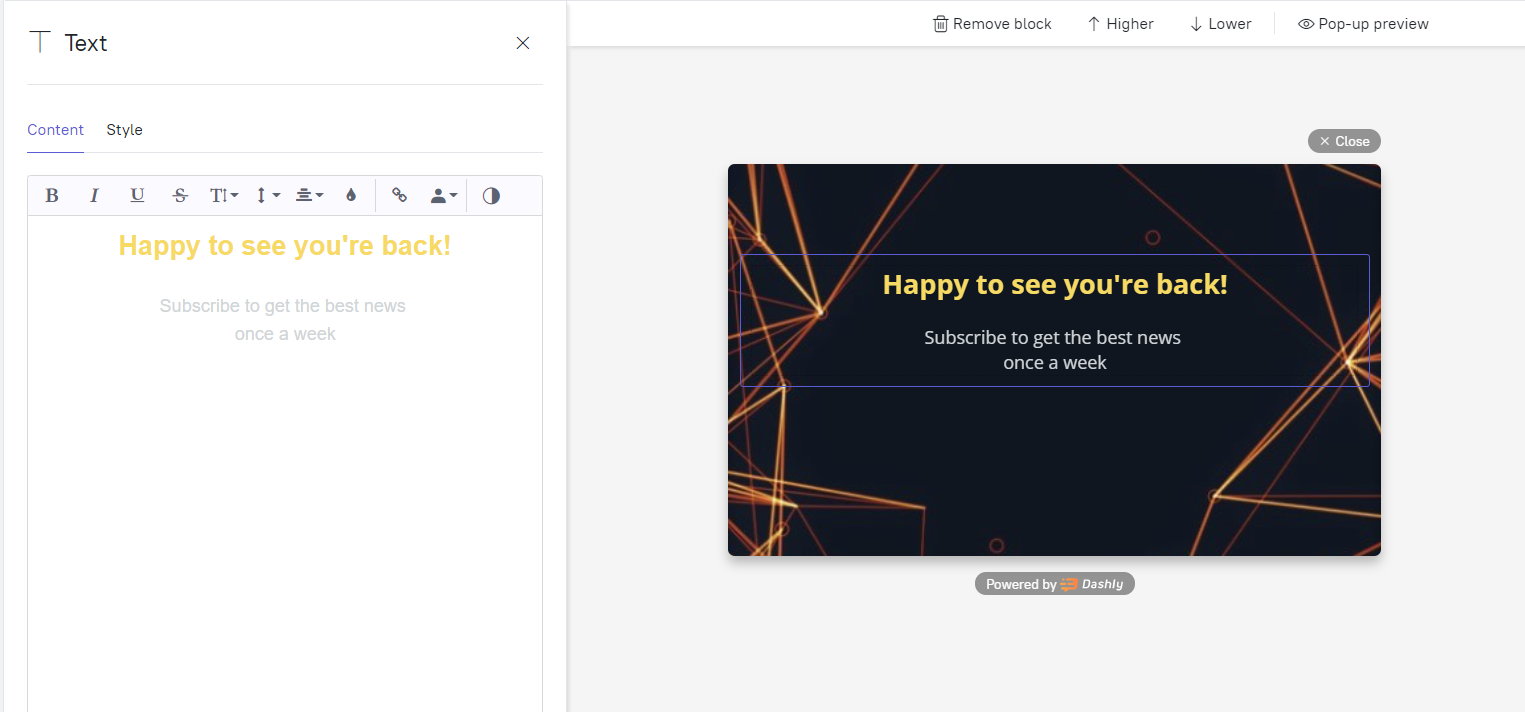
The block height and background are also easy to change in the style section.
6. The space on this pop up demands a button, and Dashly popup builder offers four options for this:

But for a subscription pop up we need a field with a button block
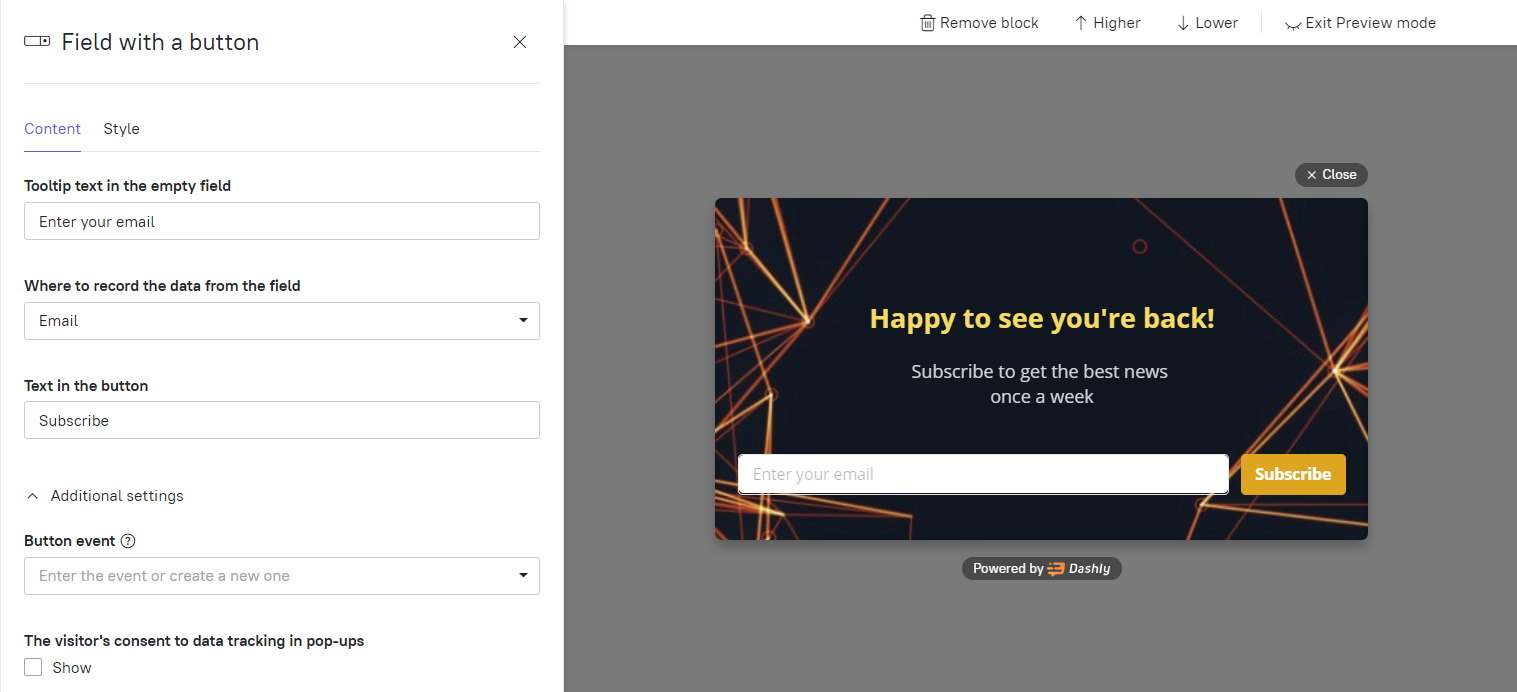
In the Style tab, you can customize the block and change the following colors:
Important: The pop up you create in Dashly popup builder is mobile responsive, so there is no need to worry about how it'll be displayed on different devices.
- Field border-color
- Background Color
- Field text color
- Button color
- Button text colo
Important: The pop up you create in Dashly popup builder is mobile responsive, so there is no need to worry about how it'll be displayed on different devices.
Set up the popup triggers
The pop up design is created. The last minutes we'll spend setting up its workflow on the website
1. Set triggers to determine which actions set off popups
There is a list of actions (events) visitors perform on the website. For example, page visit. In Dashly Popup Builder, you can set it as a trigger when this popup window is sent.
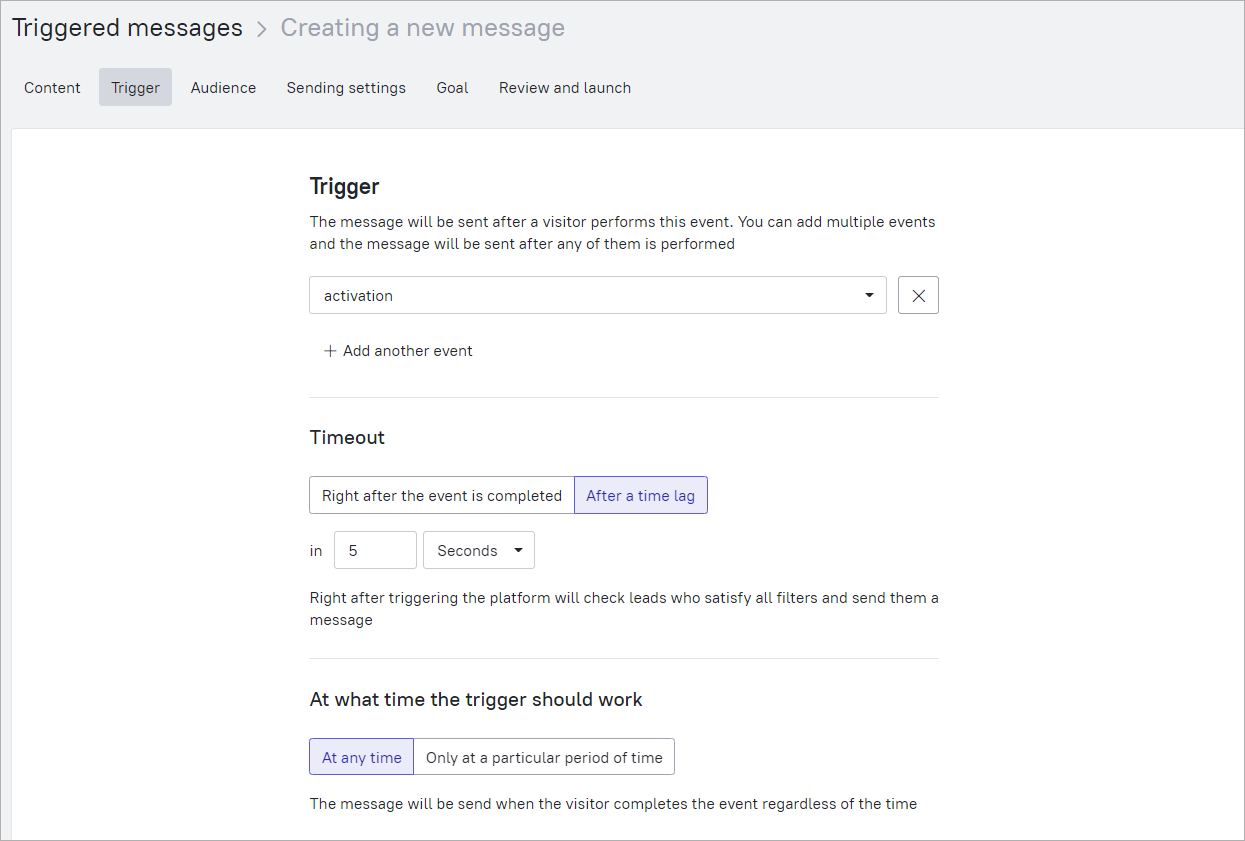
There is also an opportunity to create a popup sending timeout. For example, you can configure the time lag to send the triggered message when visitors spend 5 minutes on the website.
2. Show popups to users who meet specific requirements
You can easily choose to apply segment filters in the popup creator - Properties, Events, and Tags.
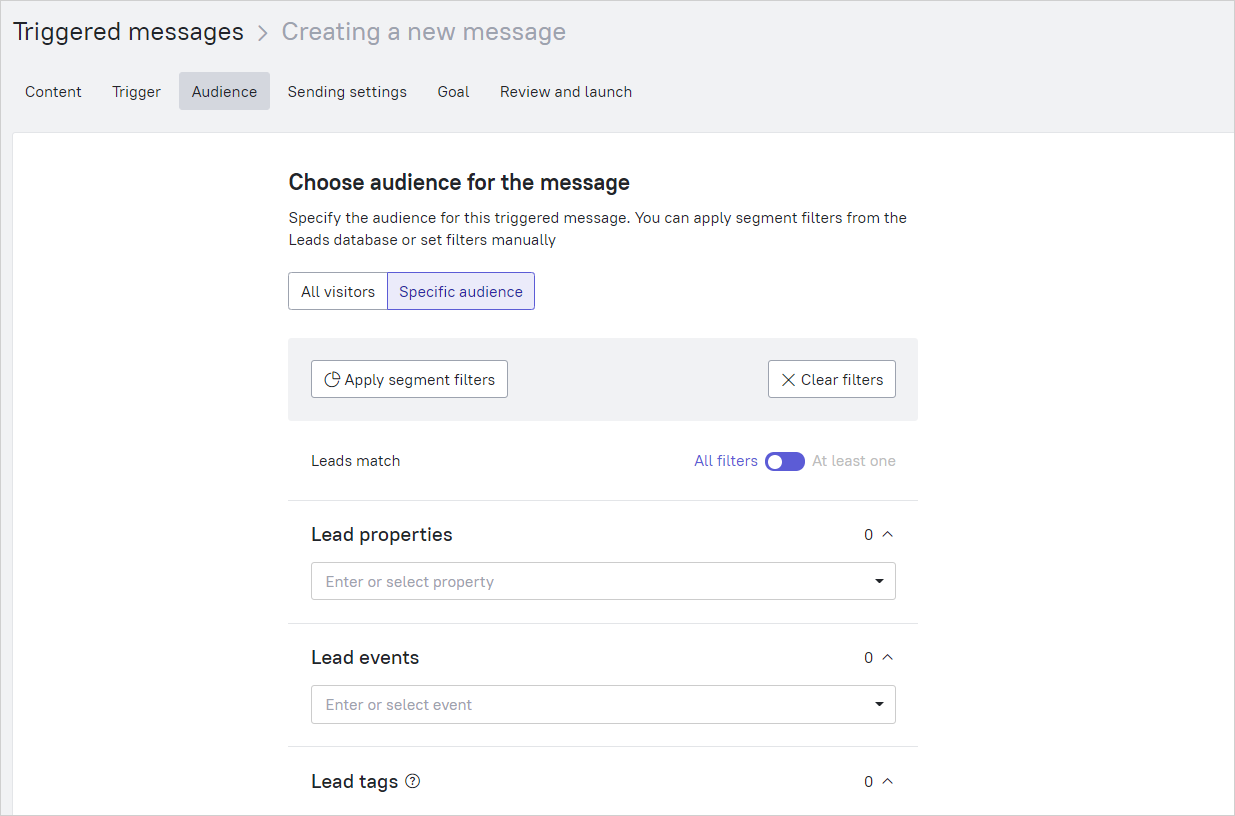
For example, you can send a popup window only to those who haven't subscribed yet: choose the event "Subscribed" and "Undefined" as the specifying option.
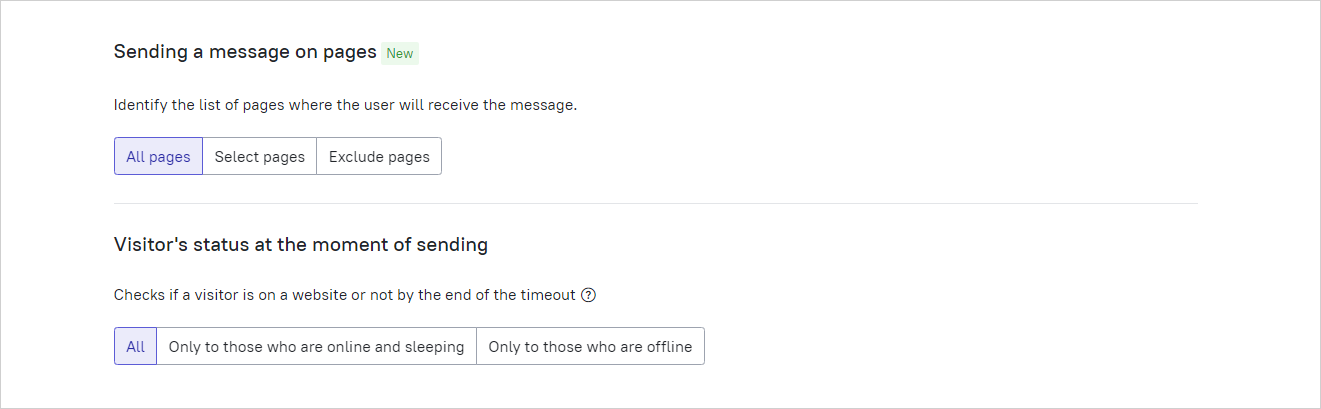
3. Determine which pages and posts to show popups.
Include, Exclude or choose All pages where visitors will receive the message on your website.
That's all. Press start and welcome new subscribers!
To add the popup to your website, you need only 10 min. Just try!
To add the popup to your website, you need only 10 min. Just try!
How to create website popups without a developer
7 days of free trial. No credit card required